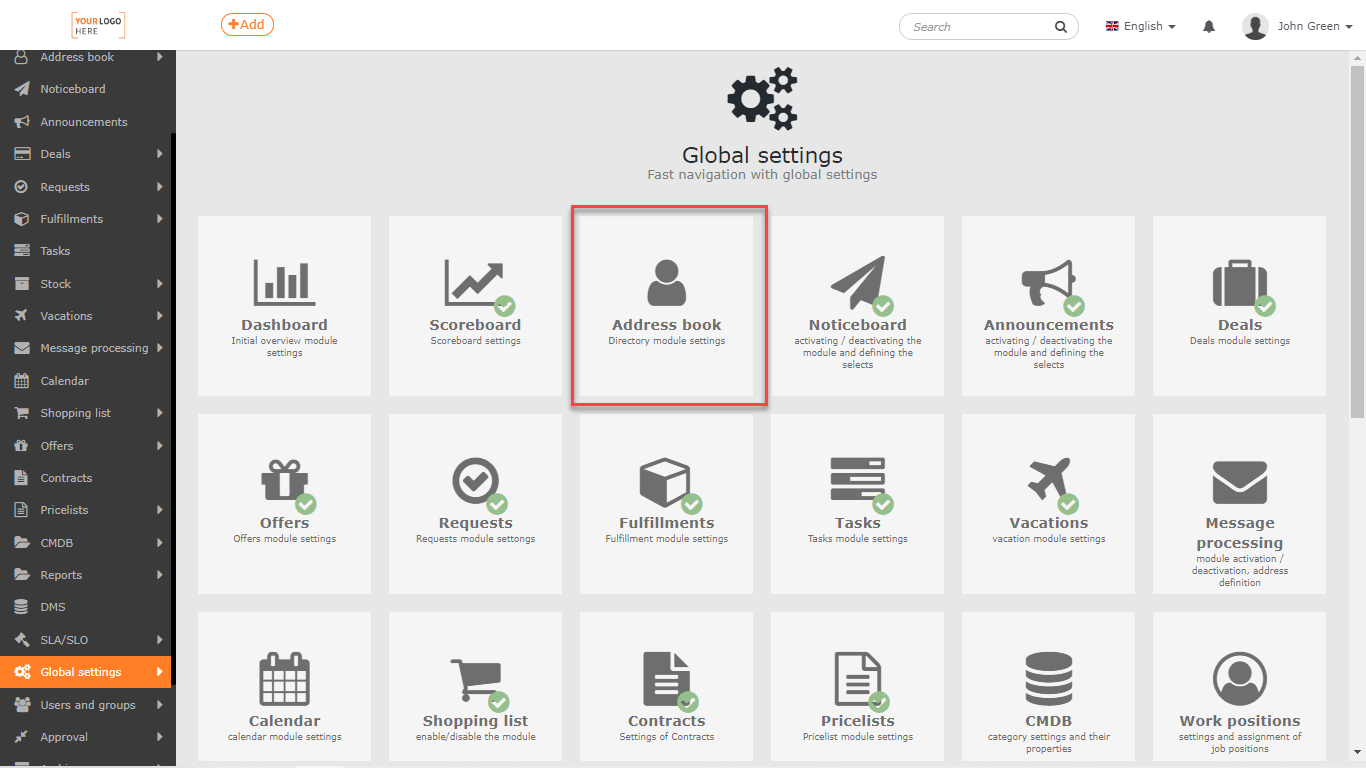
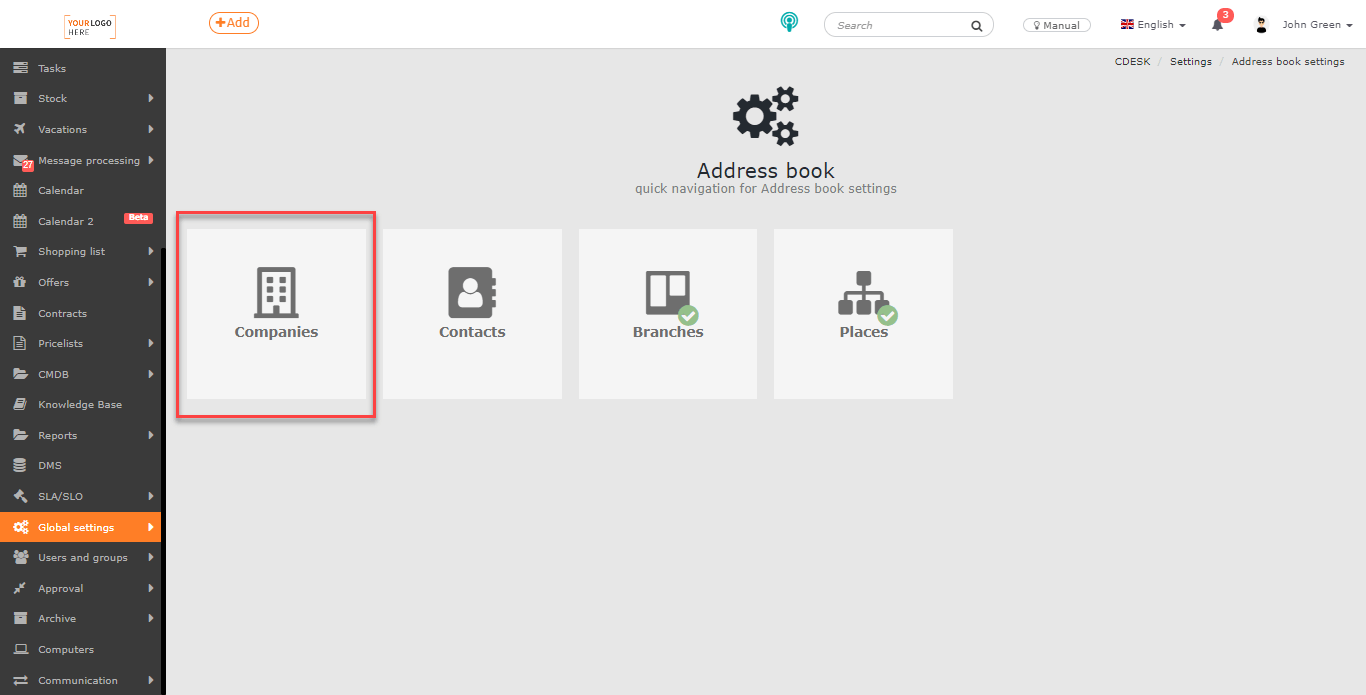
ADDRESS BOOK – COMPANIES – SETTINGS
The following settings are for the Address Book->Companies module. Setup of companies can be done in Global Settings->Address Book->Companies.
General Settings
Automatically allocate an operator when a company is created – if the switch is in the on position ![]() , the user who created the new company record will be automatically assigned as an operator to the company. This setting is for when the visibility of companies is limited for an operator account. The setting is disabled by default. For instructions on how to create a new company record, see Add a new company and for more information on assigning operators, see Operators.
, the user who created the new company record will be automatically assigned as an operator to the company. This setting is for when the visibility of companies is limited for an operator account. The setting is disabled by default. For instructions on how to create a new company record, see Add a new company and for more information on assigning operators, see Operators.
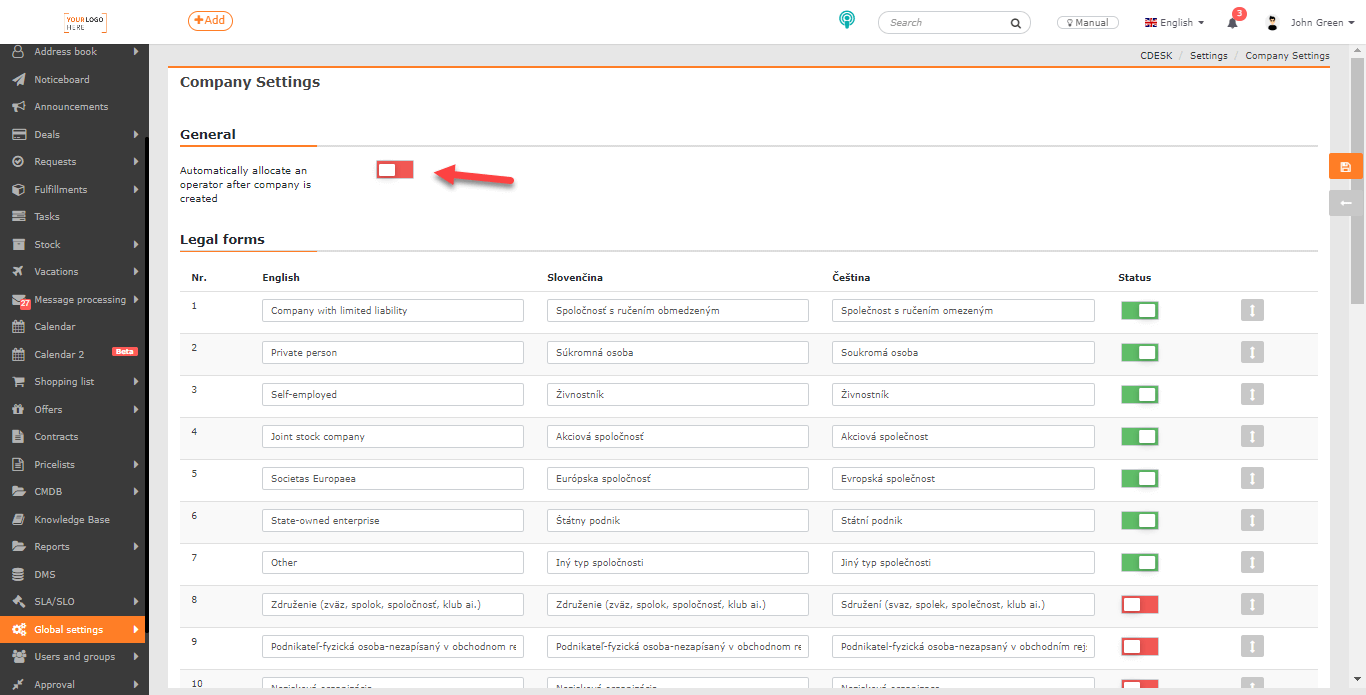
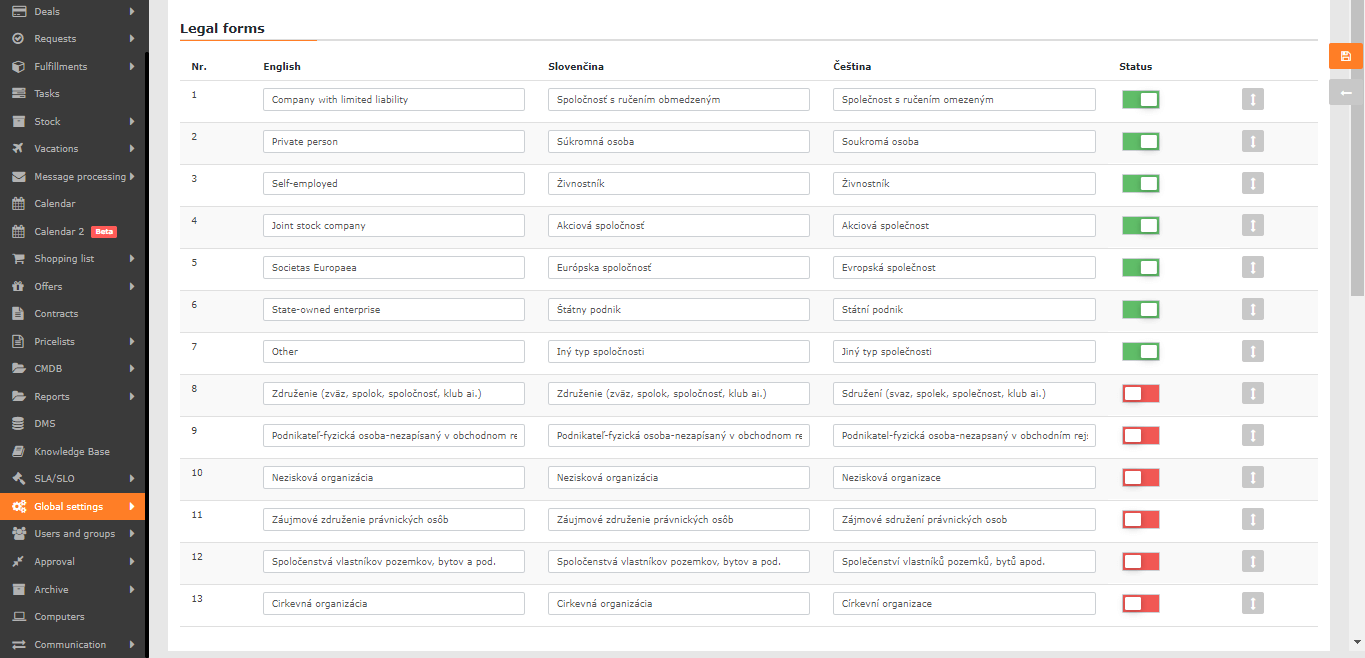
Legal Forms
The list contains the legal forms used in the system. For foreign language users, CDESK provides the option to list translations in languages that are enabled in Global Settings ->Languages.
If the toggle in the Status column is on ![]() , the legal form will be active and will be included in the code list when creating companies.
, the legal form will be active and will be included in the code list when creating companies.
You can adjust the order of items in the code list by dragging ![]() .
.
Types of Companies
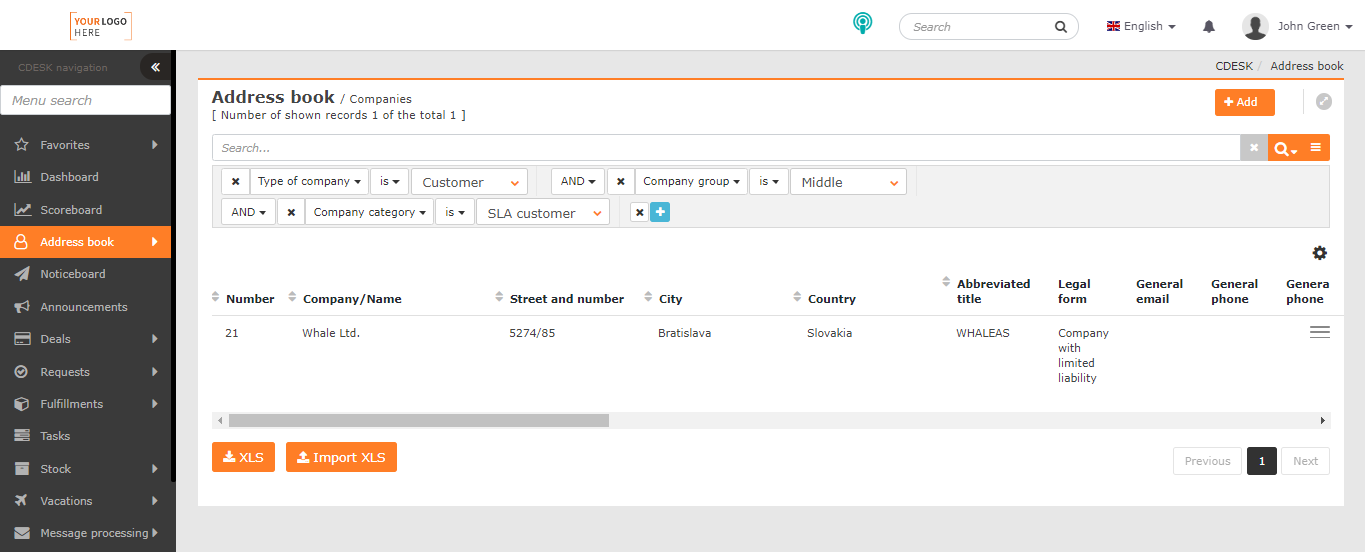
The Types of Companies function, like Categories of Companies, is used to sort companies. You can filter items by types in Address Book->Companies and also in the list of requests. These functions are also used to divide customers and suppliers into groups. Individual operators can then be assigned permissions to access only selected company types. Moreover, you can define to which types requests will be made.
Add a New Type
To add a new type of company, click ![]() ->Add a child tag. A new line will appear in the list where you can enter the name. The type will appear in the list under this name. You can also attach a description and a slug.
->Add a child tag. A new line will appear in the list where you can enter the name. The type will appear in the list under this name. You can also attach a description and a slug.
Slug – represents an alias for an item in an understandable form that is used in API calls instead of an ID. The expression used must not contain diacritics and spaces and is case sensitive.
Description – is displayed after saving the type in the pop-up window. It describes the type in more detail. Maximum number of characters: 65 535.
At the end of the line, there is x, which closes the new line and the category will not be saved. To save the type, use ![]() .
.
Subordinate types can be added to an existing type in the same way as main types themselves. If a type contains subtypes, appears next to the type name and lists all subtypes, + belonging to that type. Use – to close the list.

Edit and Delete a Type
Translations can be added to type names using ![]() ->Translations. A new window opens where you can put translations in languages enabled in Global Settings->Languages. Translations are saved using the Save button in the bottom right corner. Next to this you can see the Cancel button which allows you to return to the list without saving translations.
->Translations. A new window opens where you can put translations in languages enabled in Global Settings->Languages. Translations are saved using the Save button in the bottom right corner. Next to this you can see the Cancel button which allows you to return to the list without saving translations.
Delete button in the context menu ![]() is used to delete types. When clicked, the message Are you sure you want to delete this? appears. Click on this line to delete the type. If the type also contains subtypes, these are also deleted. The Supplier and Customer component predefined in the system cannot be deleted.
is used to delete types. When clicked, the message Are you sure you want to delete this? appears. Click on this line to delete the type. If the type also contains subtypes, these are also deleted. The Supplier and Customer component predefined in the system cannot be deleted.
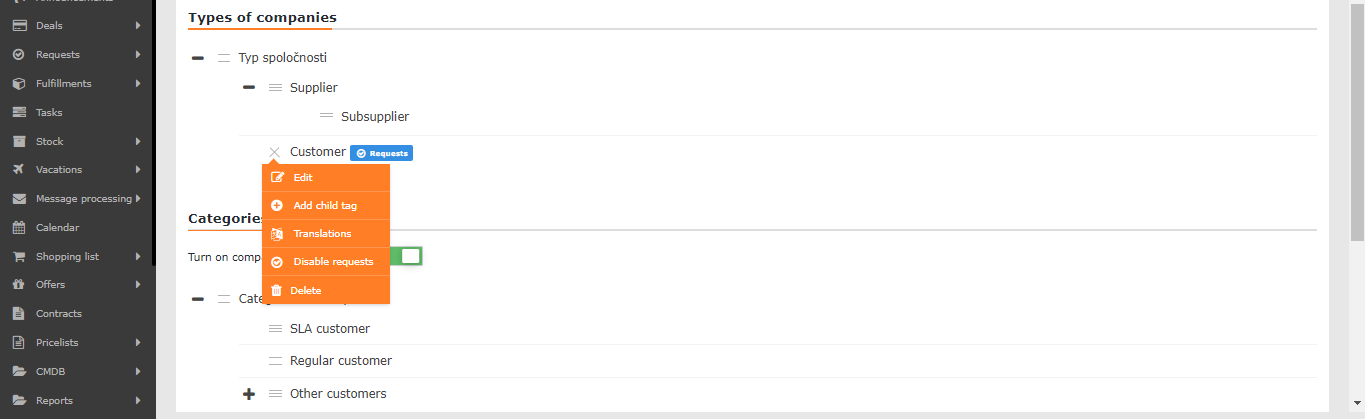
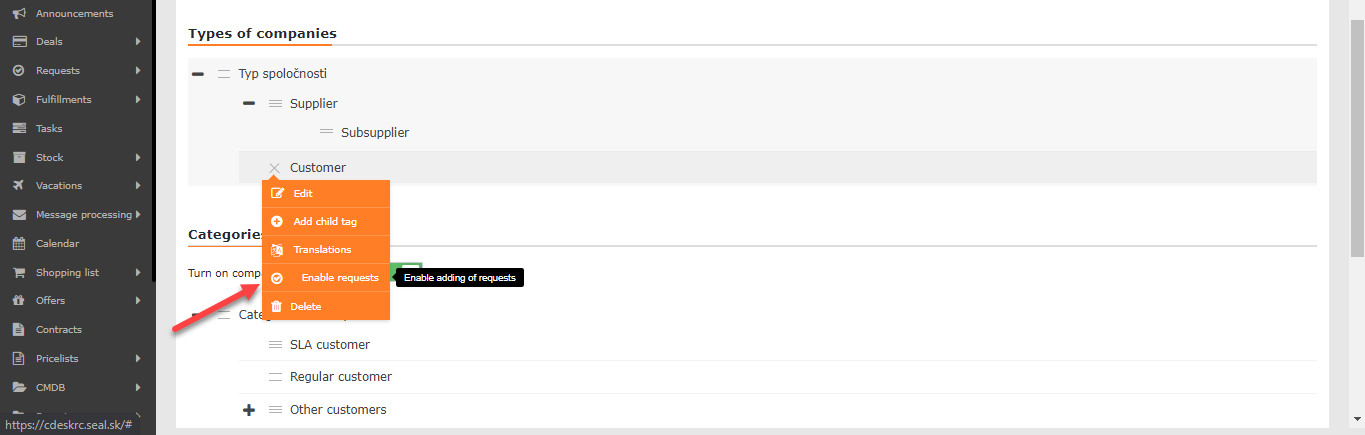
Allow Requests
The Allow Requests function is used to determine which types of companies will be allowed to make requests. It can be accessed via the context menu ![]() -> Allow Requests. If the function is enabled, the Requests flag appears next to the company type name. Only companies whose type has this flag will be displayed in the Requests module.
-> Allow Requests. If the function is enabled, the Requests flag appears next to the company type name. Only companies whose type has this flag will be displayed in the Requests module.
To create a request for a type is disabled via the context menu ![]() ->Disable requests.
->Disable requests.
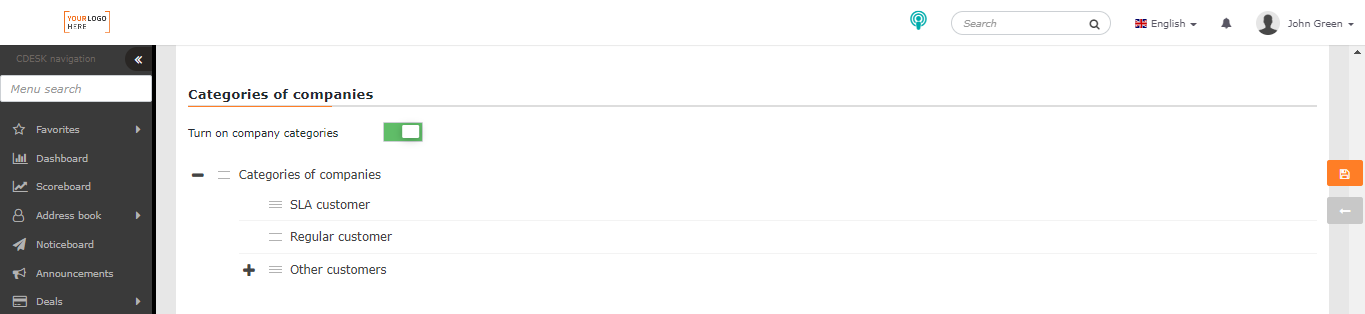
Company Categories
Categories simplify the selection of companies, you can filter by them in the list of Companies and Requests. Individual operators can then be assigned permissions to access selected types of companies. Sorting companies into categories is enabled if the toggle switch is on ![]() .
.
Adding, Editing and Deleting of company categories work the same as for company types. It is not possible to delete the Categories of Companies component that is predefined in the system.
Groups of Companies
Company groups are used to sort companies. They can be used to filter items in the list of Companies and Requests.
This function is enabled when the switch is on ![]() .
.
Adding, Editing and Deleting of company groups work the same as for company types. It is not possible to delete the Group of Companies component that is predefined in the system. Company groups can also be edited in the Global Settings->Categories list.
Example of Using Categorization
Imagine a company that has customers all over the country. The company will use all three sorting functions: Company Types, Company Categories and Company Groups.
The company first categorizes the registered companies into two categories: Contractual Relationship and Product Preferences. Additional subcategories can be created for these categories, for example:
- Contractual relationship
- Without a contract
- Contract with SLA working days only
- Contract with SLA 24/7
- Product preferences
- Apple, IOS
- Samsung, Android
- Other
For greater clarity and better registration, the company will divide the categories into three groups using the Company Groups function: West, Centre and East. In terms of content, you can get the following division:
- West (groups of companies)
- Contractual relationship
- Without a contract
- Contract with SLA working days only
- Contract with SLA 24/7
- Product preferences
- Apple, IOS
- Samsung, Android
- Other
- Contractual relationship
- Centre (groups of companies)
- Contractual relationship
- Without a contract
- Contract with SLA working days only
- Contract with SLA 24/7
- Product preferences
- Apple, IOS
- Samsung, Android
- Other
- Contractual relationship
And the same for the East.
In this categorization, it will still be distinguished whether it is a Supplier, a Customer or a Reseller, for example. Customers can be assigned companies. These settings are made using the Types of Companies function.
When searching for items in the company list, it will be possible to filter by all three types of sorting at the same time. For example, it will be possible to set that only customers from Centre who are interested in Apple are displayed. This will make the work much more efficient, especially with a great number of registered companies.
Additional Properties
In this section, companies can be extended with additional parameters that are not present in the form and should be recorded in the form of the company. The additional properties set in the Global Settings can be found in all company forms. Additional properties can also be registered for each company separately via the form of a specific company.
Additional properties have been developed for the CMDB module and companies just take them over. Therefore, the addition and further configuration of additional properties is done under the CMDB module.
Add an Additional Property
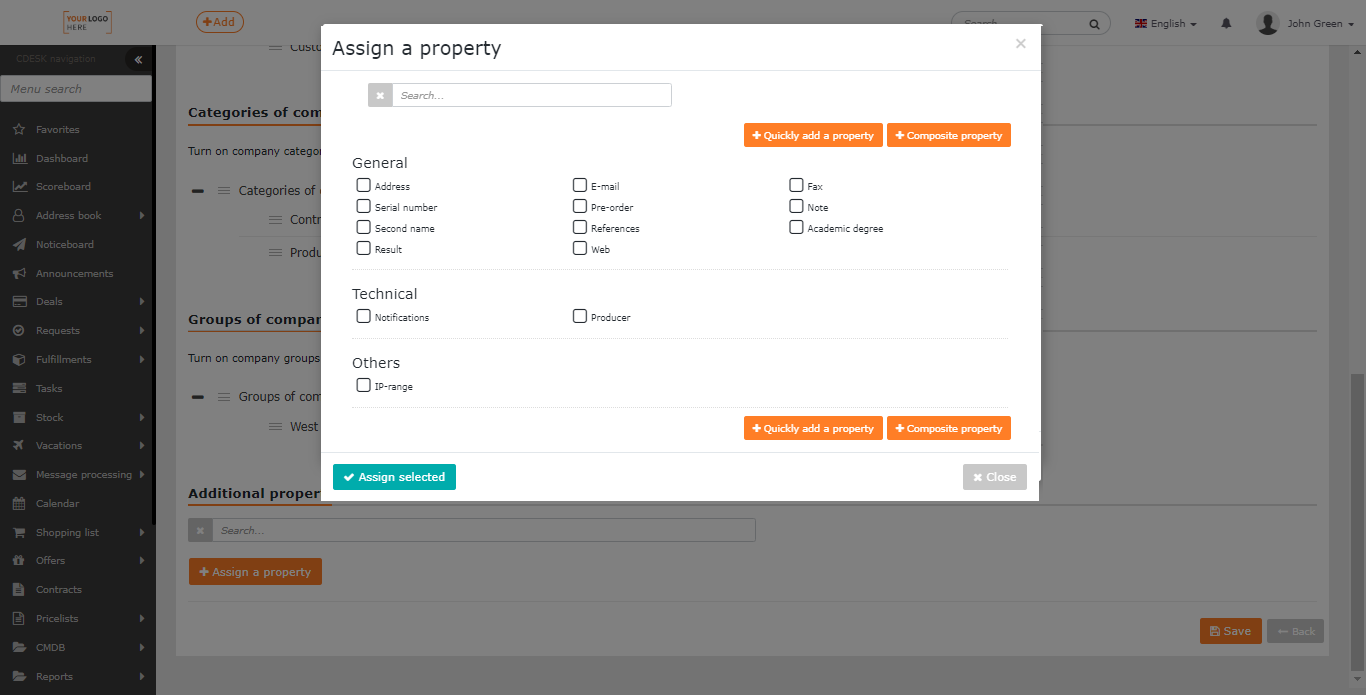
To add an additional property, click the +Assign a property
button. When clicked, a new window opens with a list of additional properties that you can define under the CMDB module. For each property, there is a check box to select the property. Use the Assign selected elements
button to add the selected properties. These items will then be included in the Requests form.
If the list does not contain the property you require, you can also define it directly in the property selection window using the +Quickly add a property and +Composite Property buttons. Select the +Quickly add a property
option to create a basic property. Use the Composite Property button to add a composite property that contains more than one basic property. For more information about working with additional properties, see Configuration Database, CMDB->Additional Properties.
Selected additional properties are added to the list of additional properties. The properties will appear on the company form in the order in which they are sorted in this list. You can change the order of the items by dragging ![]() . Above the list is a search bar. To delete additional properties that you have already added and do not wish to use anymore, delete with
. Above the list is a search bar. To delete additional properties that you have already added and do not wish to use anymore, delete with ![]() .
.
You can also set how properties are displayed and filled in.
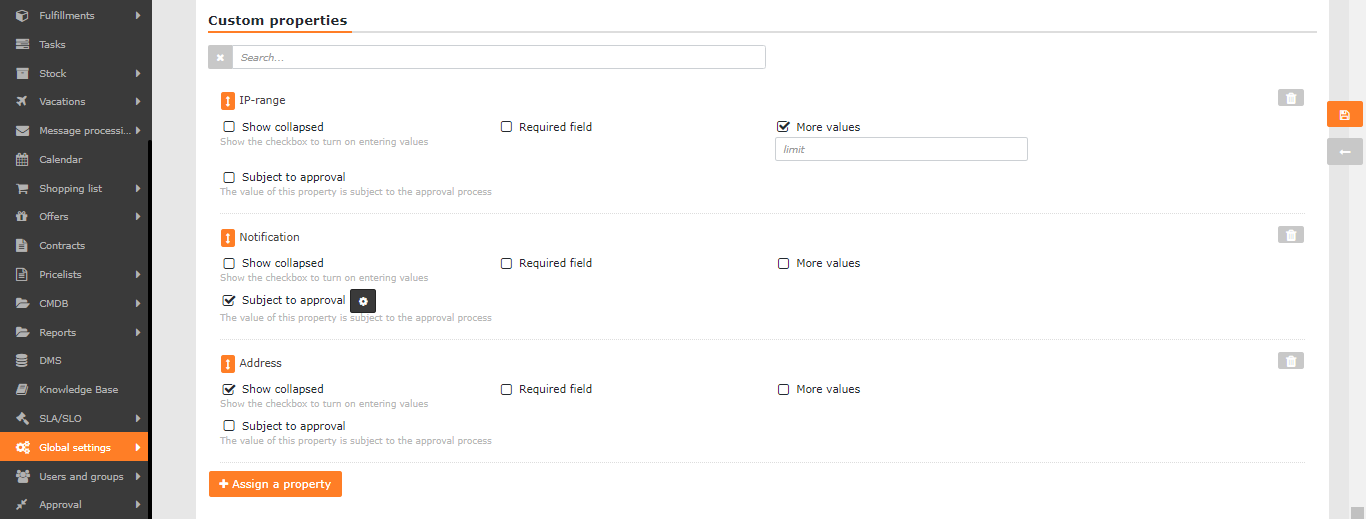
Setup of additional properties
Show Collapsed – when the Show Collapsed option is checked, only the checkbox is displayed on the company form, not the entire property. The property will be expanded when this box is checked.
Required field – when Required field is checked, the property will be marked as mandatory in the company form. You will not be able to save the company unless you fill in the property.
More values – when Multiple values checked, you are able to fill the property multiple times. In the limit field you can limit this number.
Subject to approval – allows you to set approval for the use of an additional property. More about this feature in the section Approval for additional properties.
To apply the settings, you need to Save
them. Some settings may require a page reload after saving (use the F5 key or the CTRL+R combination to refresh the page).