FAVORITE ITEMS AND DROP-DOWN MENU IN CDESK
Page contents
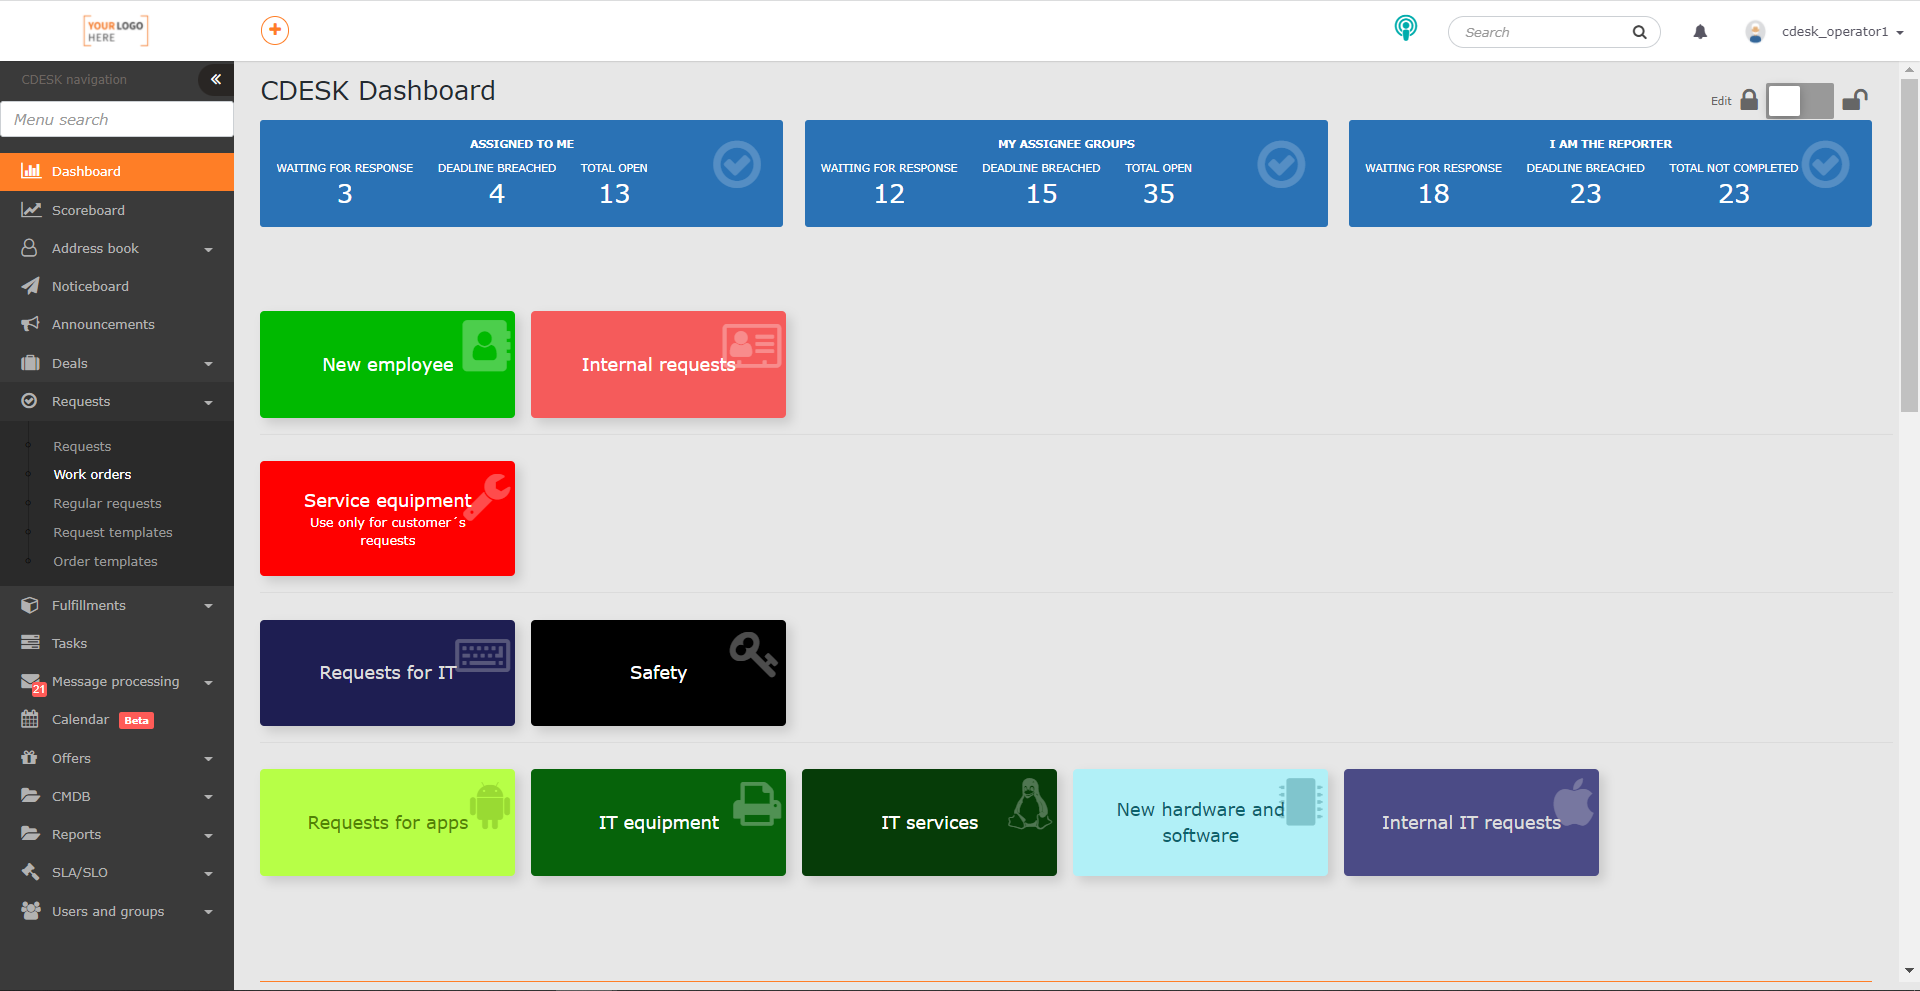
In CDESK, it is possible to build your own menu that we call Favorites. It can be displayed directly in the first level of the menu so that frequently used functions are only one click away, or you can keep your favorites collapsed.
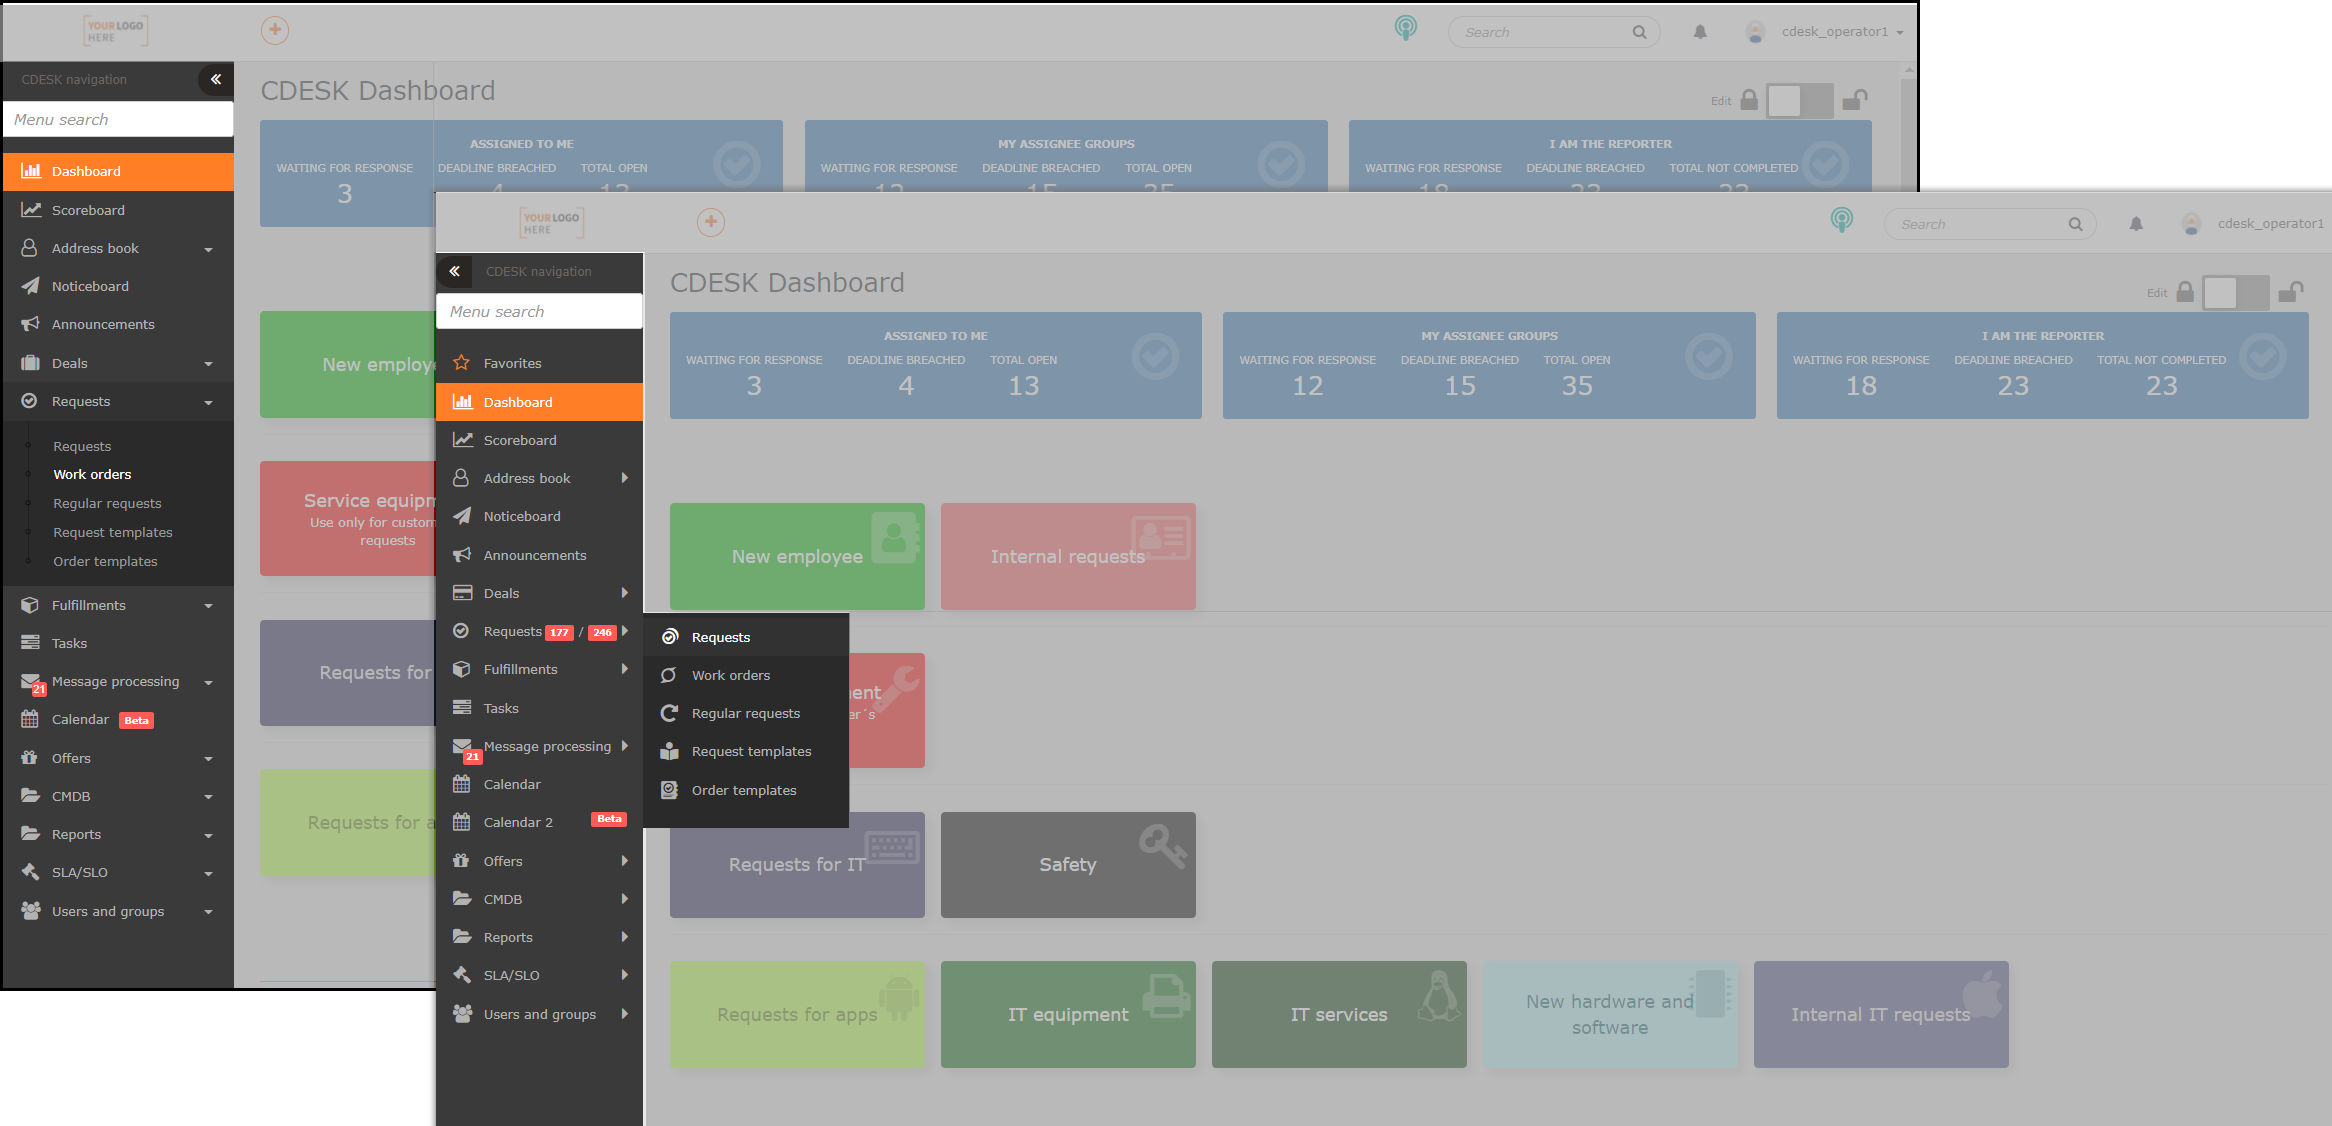
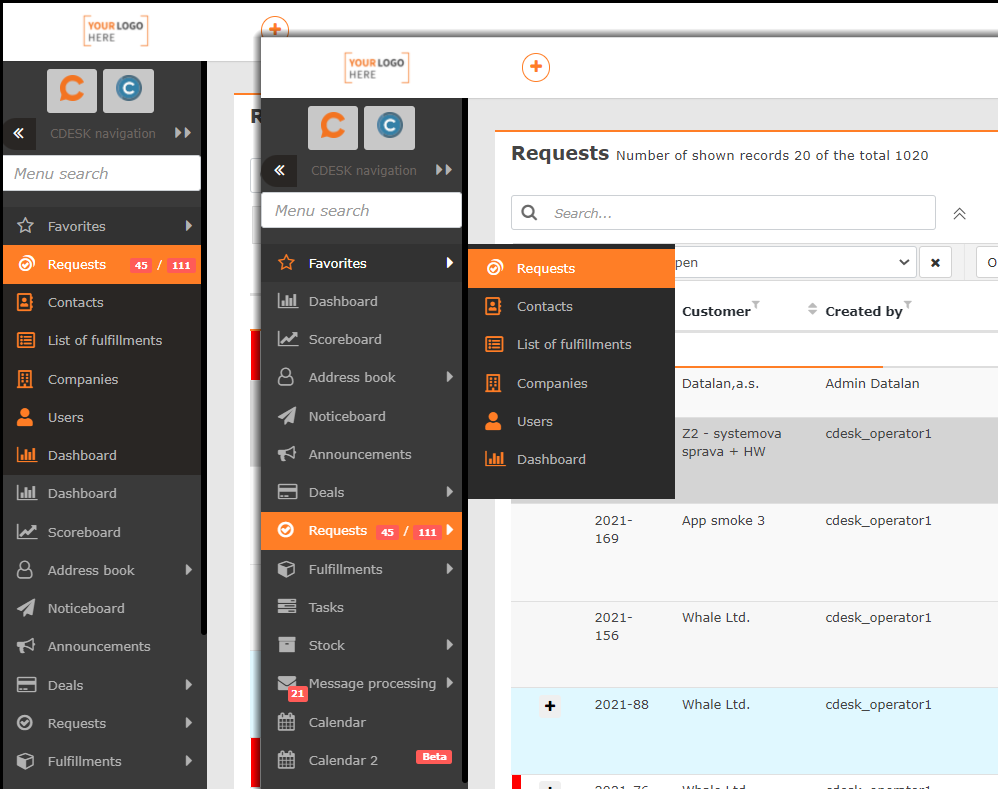
CDESK offers two different ways of menu display. The older way of display is that the menu items expand downwards. In the newer one, they slide out to the right, and in this way favorite items can be displayed in the first menu level.
Controls in the Drop-Down Menu
For your favorites in the first menu level, you will need a drop-down menu. If it is not set up, see the instructions below in Changing the Menu Type.
We recommend you set the drop-down menu even if you don’t use favorites. The advantage of the drop-down menu is that items under a module are displayed as soon as the cursor hovers over the module name in the main menu, without the need to click on the module, making switching between modules very quick and easy.
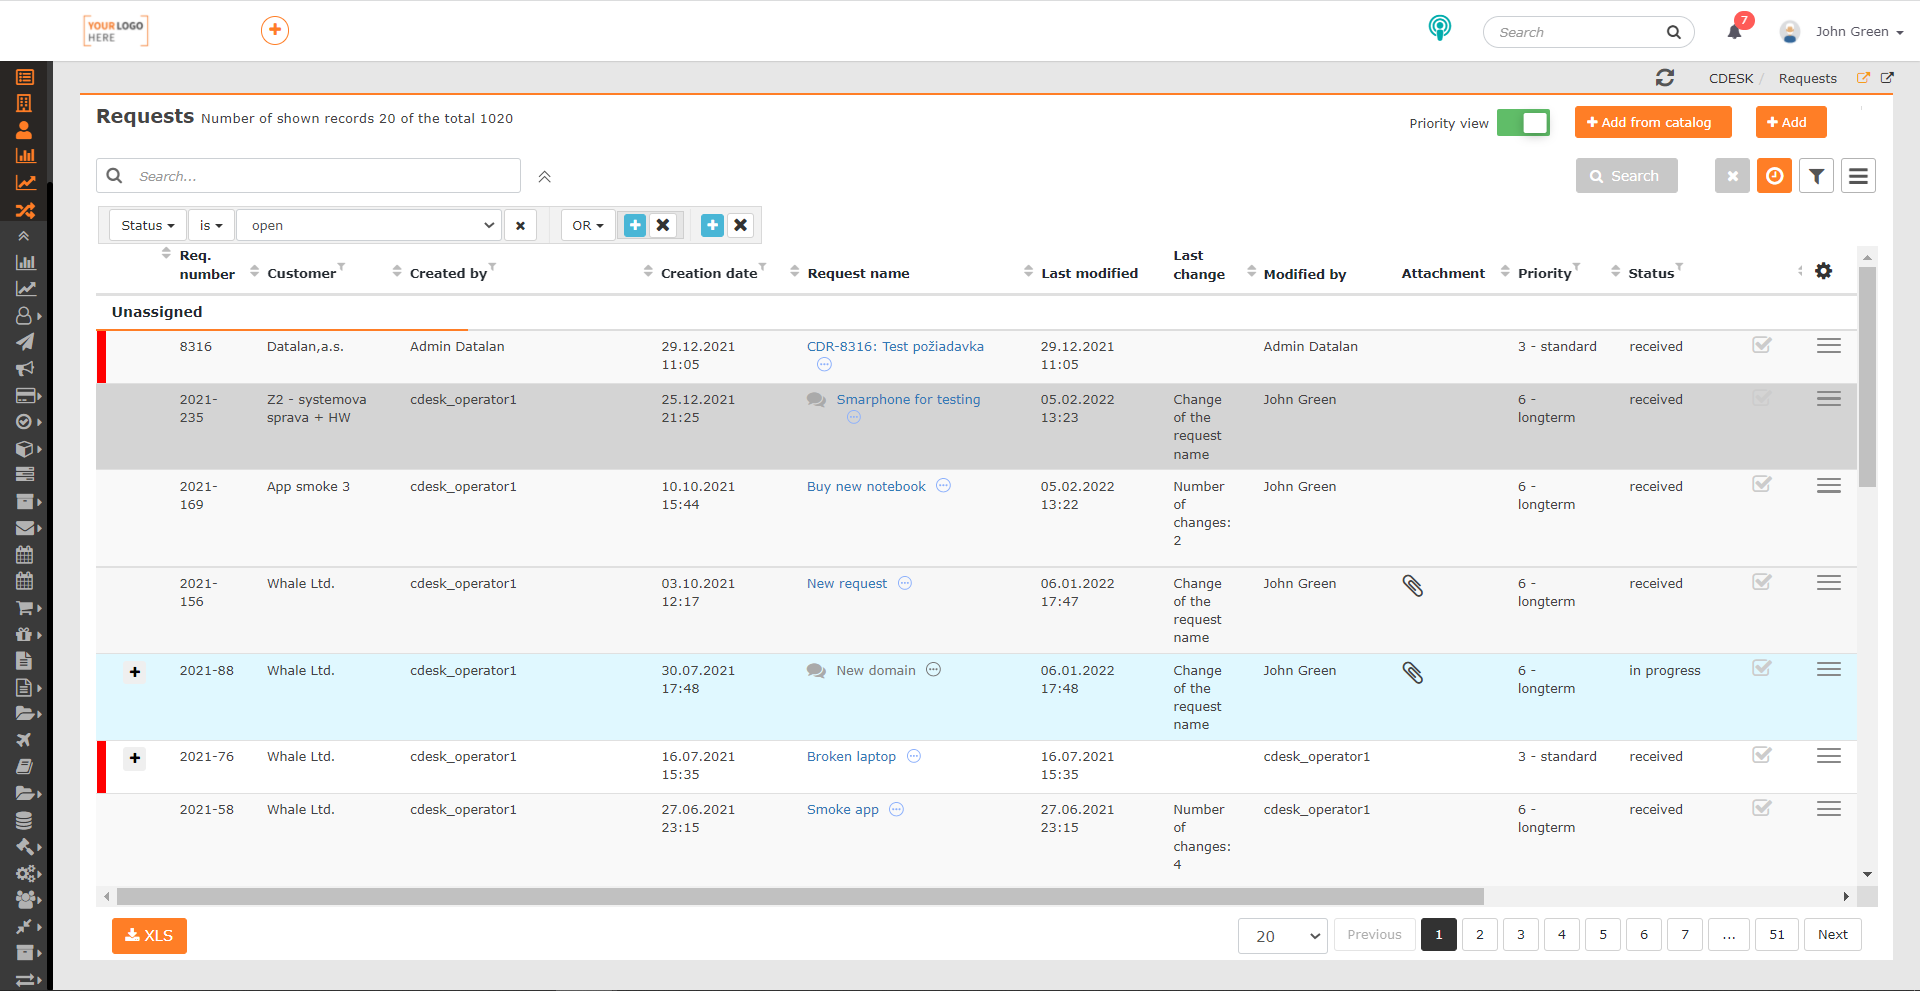
If you click on the module name, another bar next to the main menu will slide out to the full length of the window with the items and sub-items of the module. This display is useful if the module contains multiple items and sub-items.
You can turn off this display by clicking again on the name of the module whose items are displayed as the next level in the menu, or by clicking on the double arrow symbol at the top of the second level.
To maximize the use of the window space, the entire menu can be minimized and only the icons of the individual modules will be displayed on the sidebar. The double arrow icon at the top of the menu is used for this purpose. Click on the arrows once more to maximize the menu again. This display is available even when the drop-down menu is disabled.
Similarly, for both types of menus, a search bar is available to search for all menu items – both modules and module sub-items. The search bar is located above the list of modules.
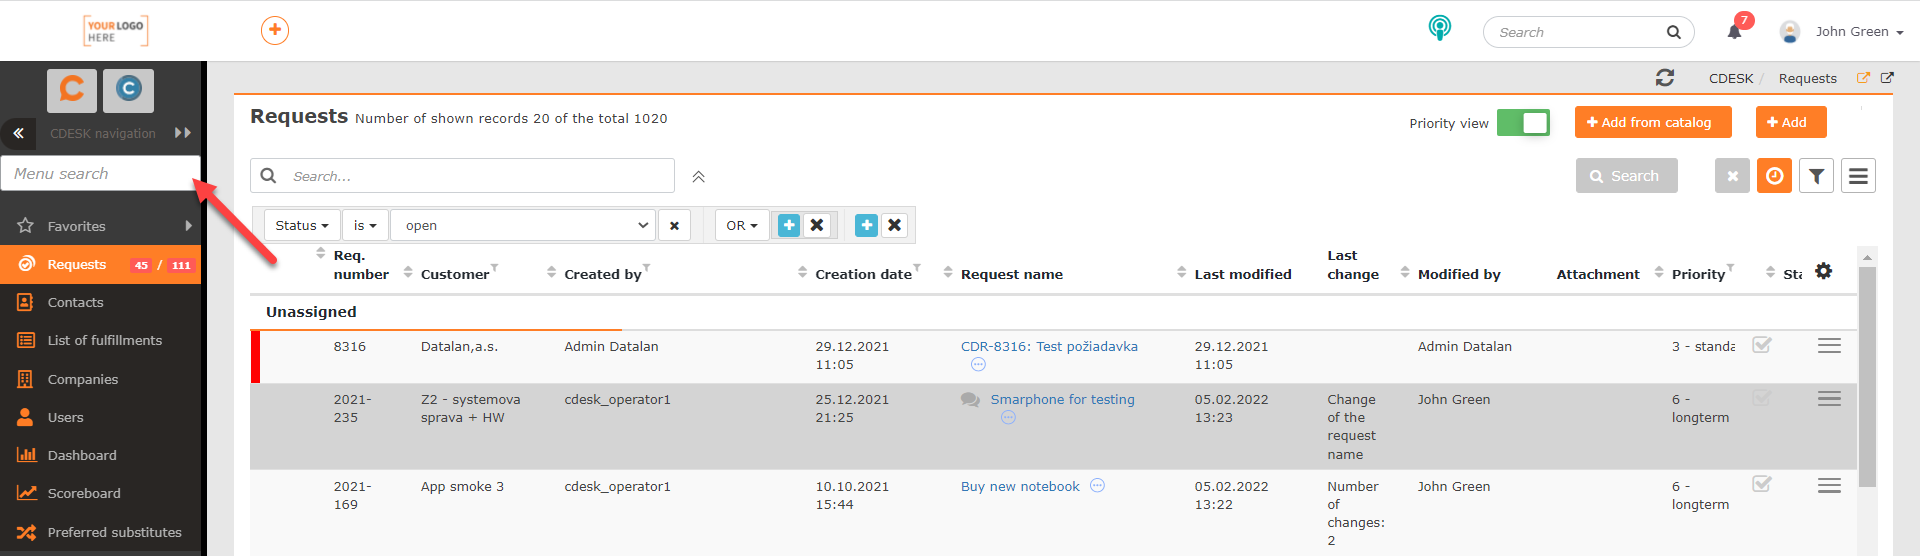
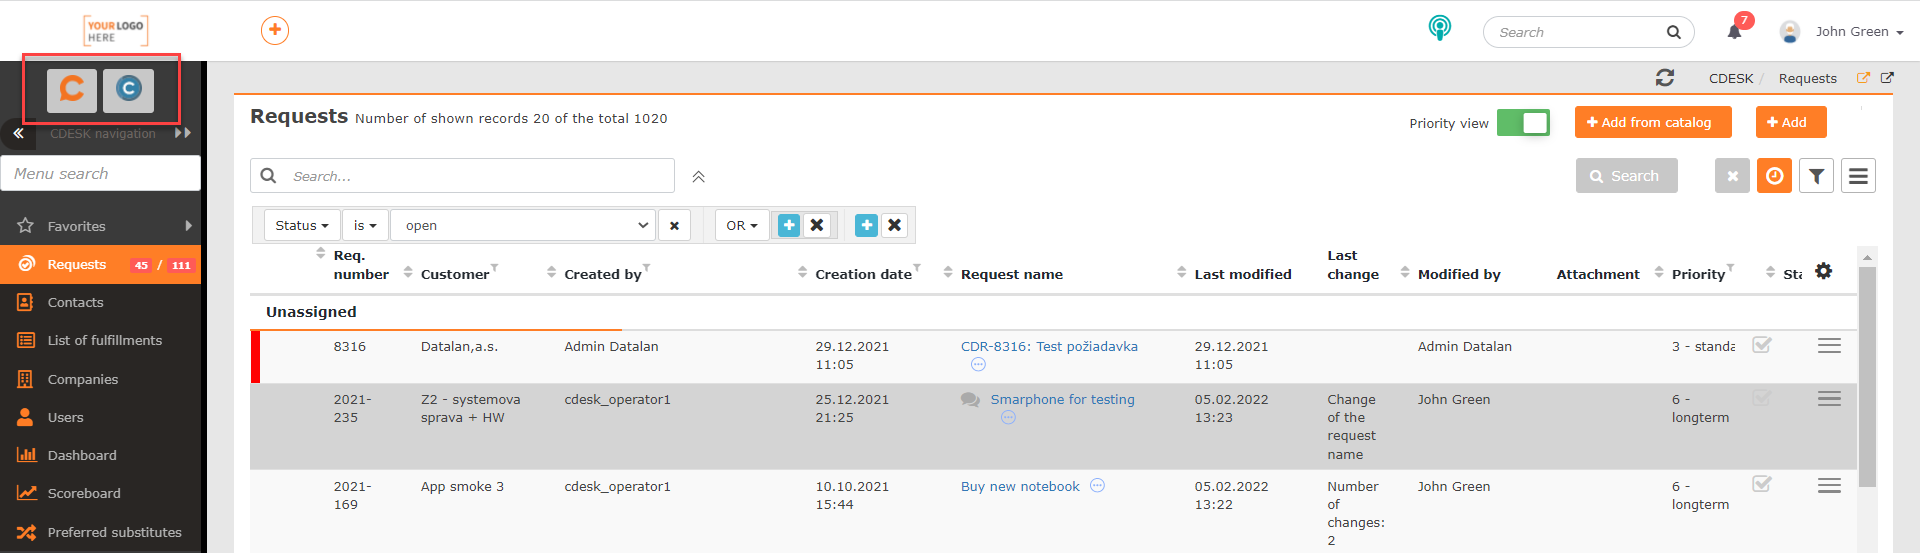
If access to Customer Monitor is enabled, the CDESK and Customer Monitor icons appear above the search bar. Click on the CDESK icon to display the modules in the menu that belong under CDESK and click on the Customer Monitor icon to display the icons for the modules under that software. Access to Customer Monitor can be enabled in Users and Groups -> Users -> choose a user -> Access to Customer Monitor field.
Adding Items to the Favorites Menu
In the case of a newly created account, there are no items in favorites. Adding items is done automatically, but the user can also organize the items manually according to their needs.
Adding Favorites Automatically – the items you access most often are added to favorites automatically, counting the number of accesses over a 24-hour period. The order of the modules in the list of favorites is then determined based on the traffic. The most used item is placed first. You can manually change this order in the Favorites settings. For instructions, see Favorite Items Settings. Items that you stop actively accessing will be removed from the list after two weeks. Settings to prevent such deletion, as well as to prevent adding a module to your favorites, are also described in paragraph Favorite Items Settings. Adding items to favorites automatically is the default option in CDESK. It can be turned off in the Favorites settings using the Automatic Creation and Sorting of Items option.
Adding Favorites Manually – to add items manually, click Favorites on the main menu and then click the Enable Adding button
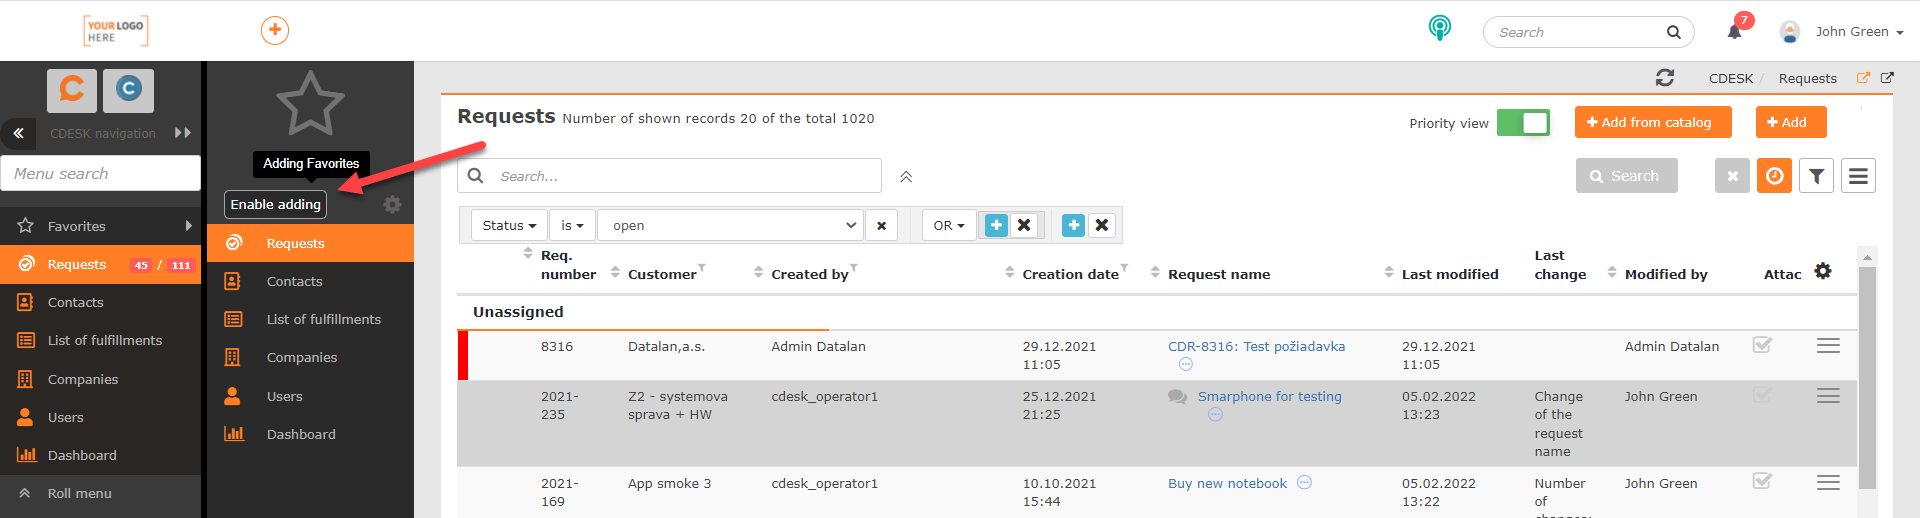
When you click the button, an asterisk appears next to each menu item. Click on it to add the item to your favorites. When the item is added, the asterisk is filled with color.
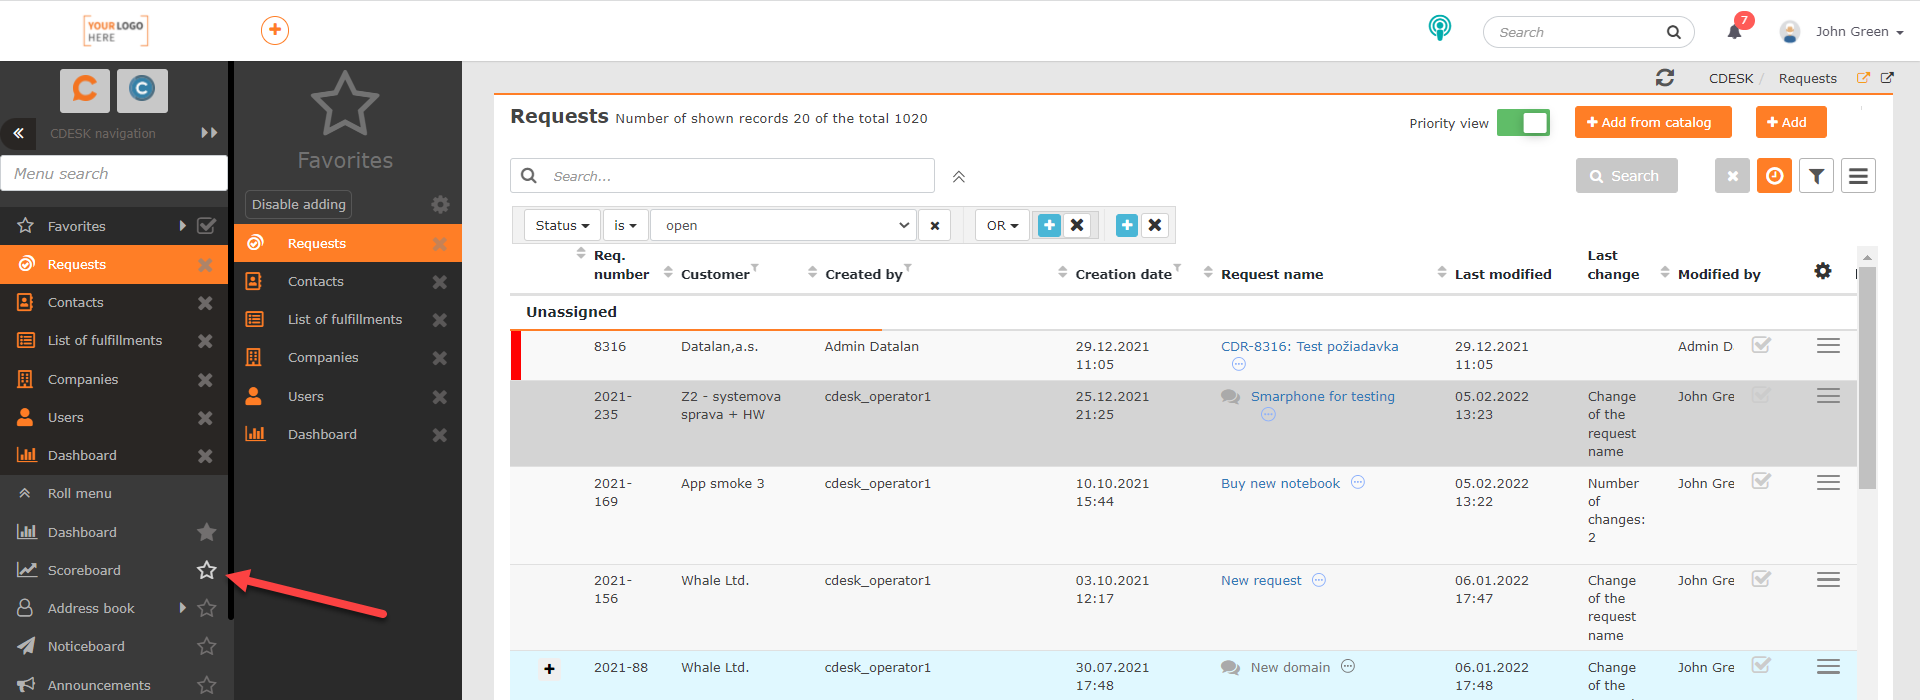
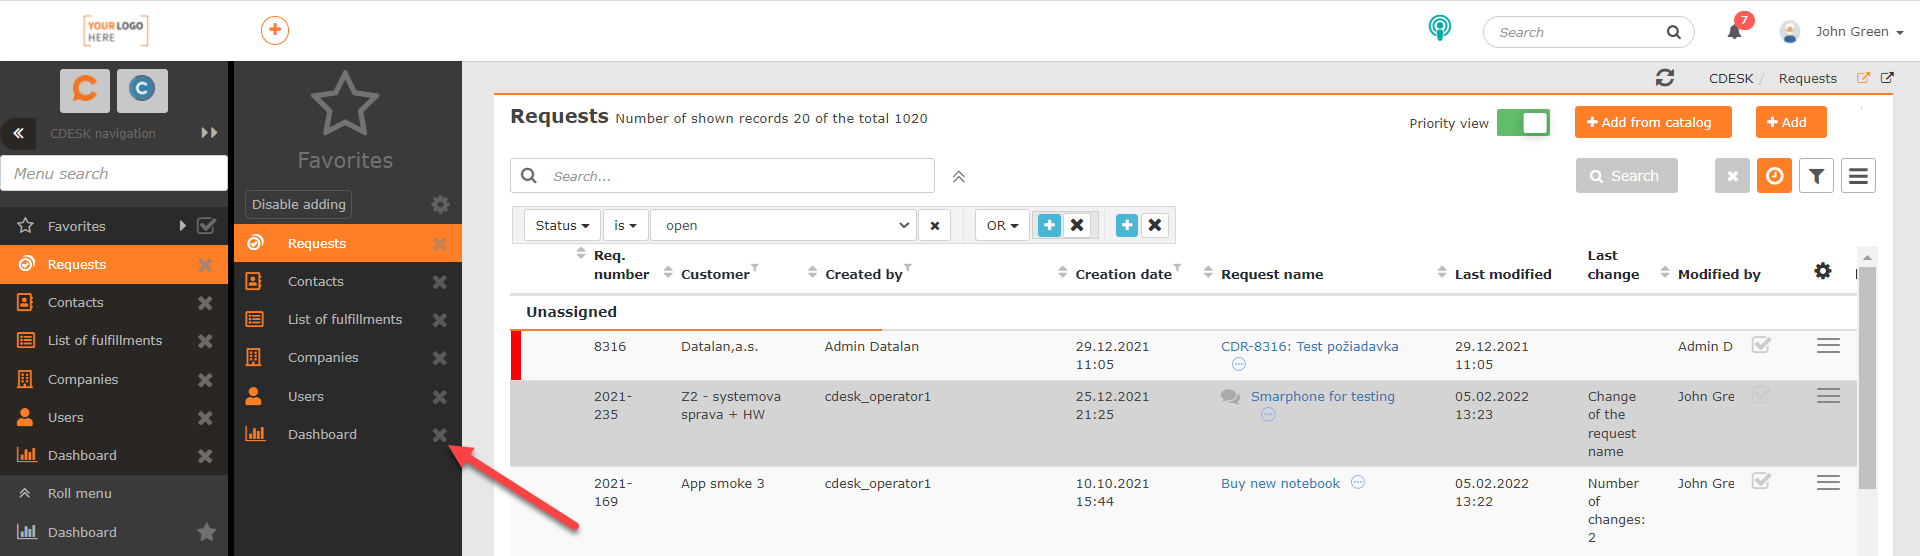
With manual addition enabled, it is also possible to manually remove items from the list of favorites. To remove items, click on the cross icon next to the item title.
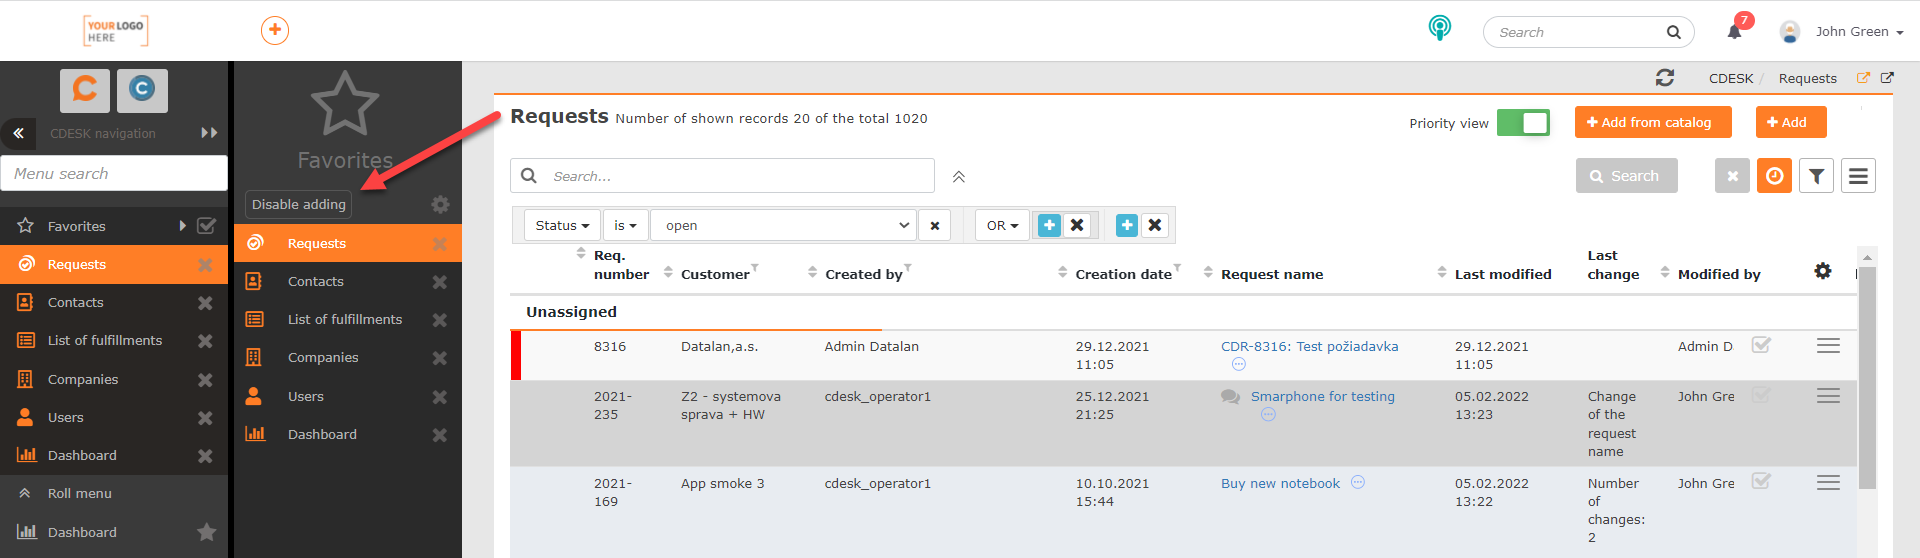
To disable manual addition, click the Disable Adding button located at the top of the list of favorites.
Favorite Items Settings
To configure the list of favorite items, click on the Favorites option in the main menu and then on ![]() . When clicked, a modal window appears with the following settings:
. When clicked, a modal window appears with the following settings:
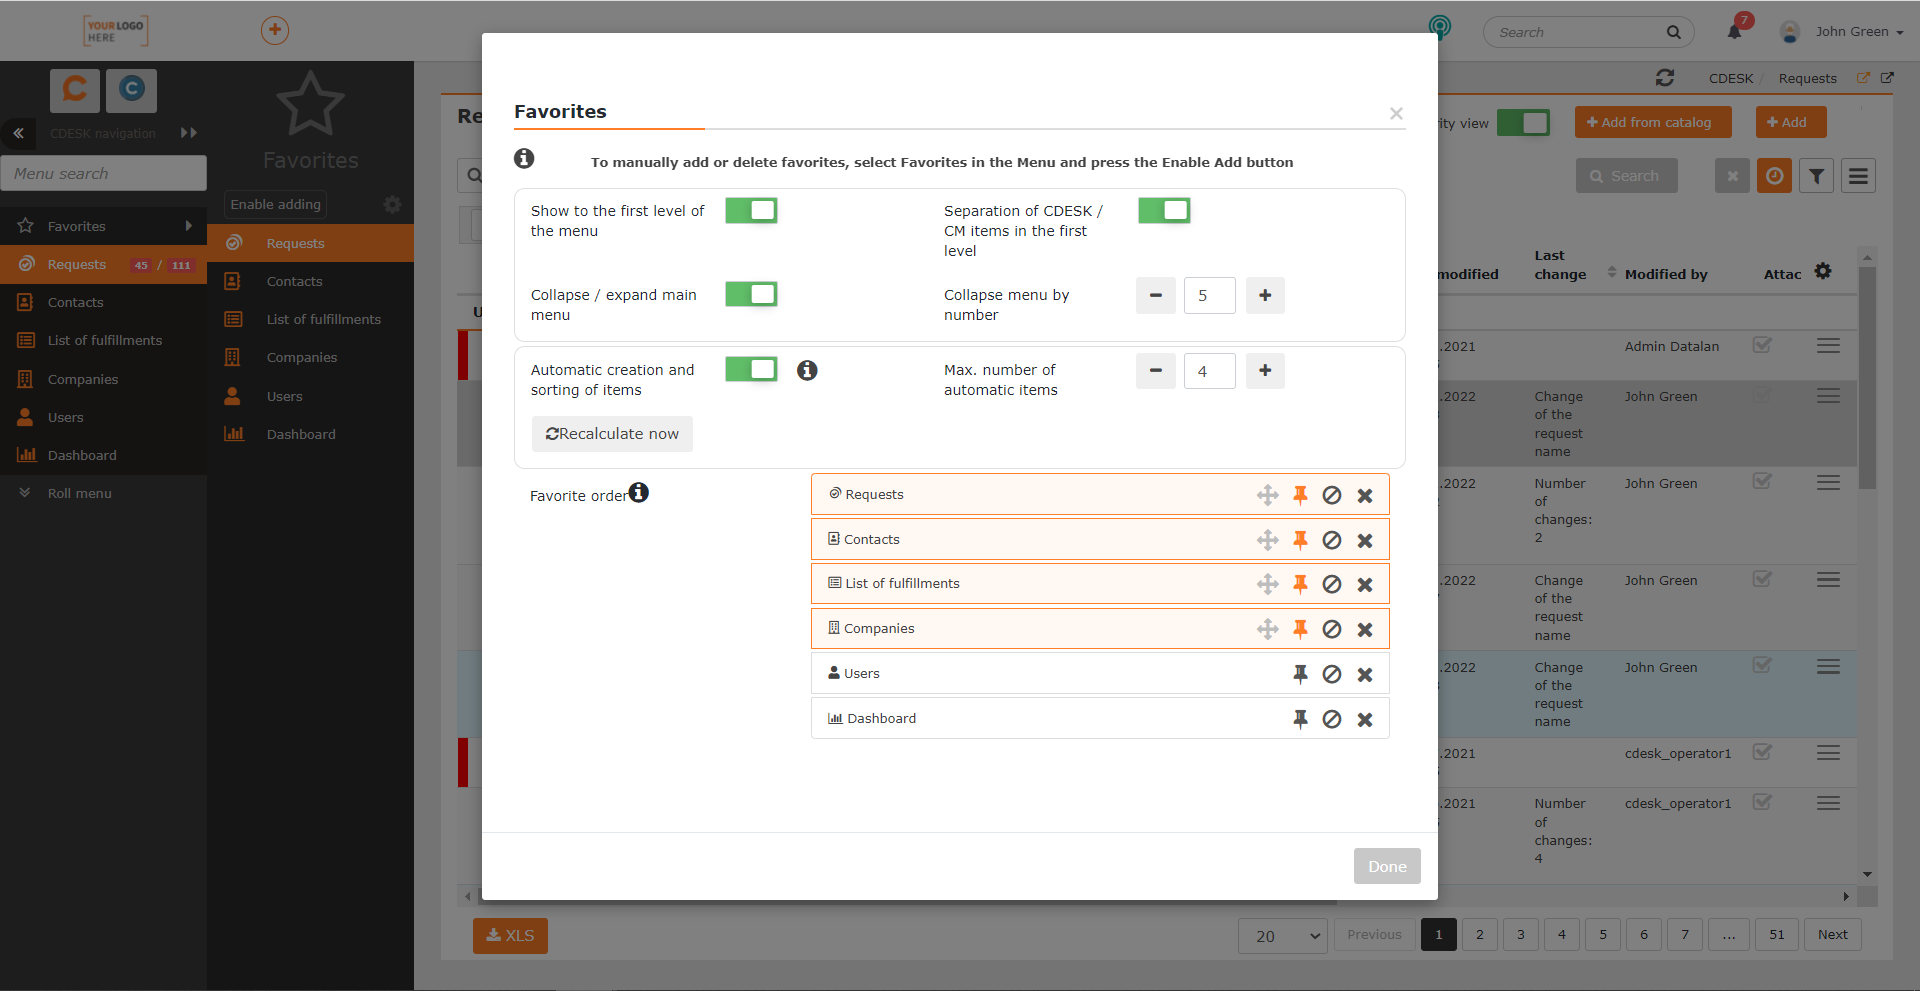
Show to the First Level of the Menu – if the switch is in the on position ![]() , the favorites will be displayed directly in the first menu level. Turning the switch on will make additional settings available for this view.
, the favorites will be displayed directly in the first menu level. Turning the switch on will make additional settings available for this view.
Separation of CDESK/CM Items in the First Level – this setting is available only if showing to the first menu level is enabled and the user has access to Customer Monitor. (Access can be set in Users and Groups -> Users -> choose a user -> Customer Monitor Access field.) Putting the switch in the on position ![]() will ensure that only items belonging to CDESK or CM, depending on which software you are currently in, will be displayed in the list of favorites in the first menu level. When displayed in the second level, modules from both software programs will be displayed among the favorites, regardless of which software the user is currently in.
will ensure that only items belonging to CDESK or CM, depending on which software you are currently in, will be displayed in the list of favorites in the first menu level. When displayed in the second level, modules from both software programs will be displayed among the favorites, regardless of which software the user is currently in.
Collapse/Expand Main Menu – this setting is only available if showing to the first menu level is enabled. If the switch is in the on position ![]() , only favorite items will be displayed in the first menu level. The rest of the main menu can be viewed by clicking the Roll Menu button. However, the main menu will only be collapsed when the number of favorite items, which is set in the Collapse Menu by Number field, is reached. Putting the switch in the off position
, only favorite items will be displayed in the first menu level. The rest of the main menu can be viewed by clicking the Roll Menu button. However, the main menu will only be collapsed when the number of favorite items, which is set in the Collapse Menu by Number field, is reached. Putting the switch in the off position ![]() will display both the favorite items and the main menu modules in the first menu level.
will display both the favorite items and the main menu modules in the first menu level.
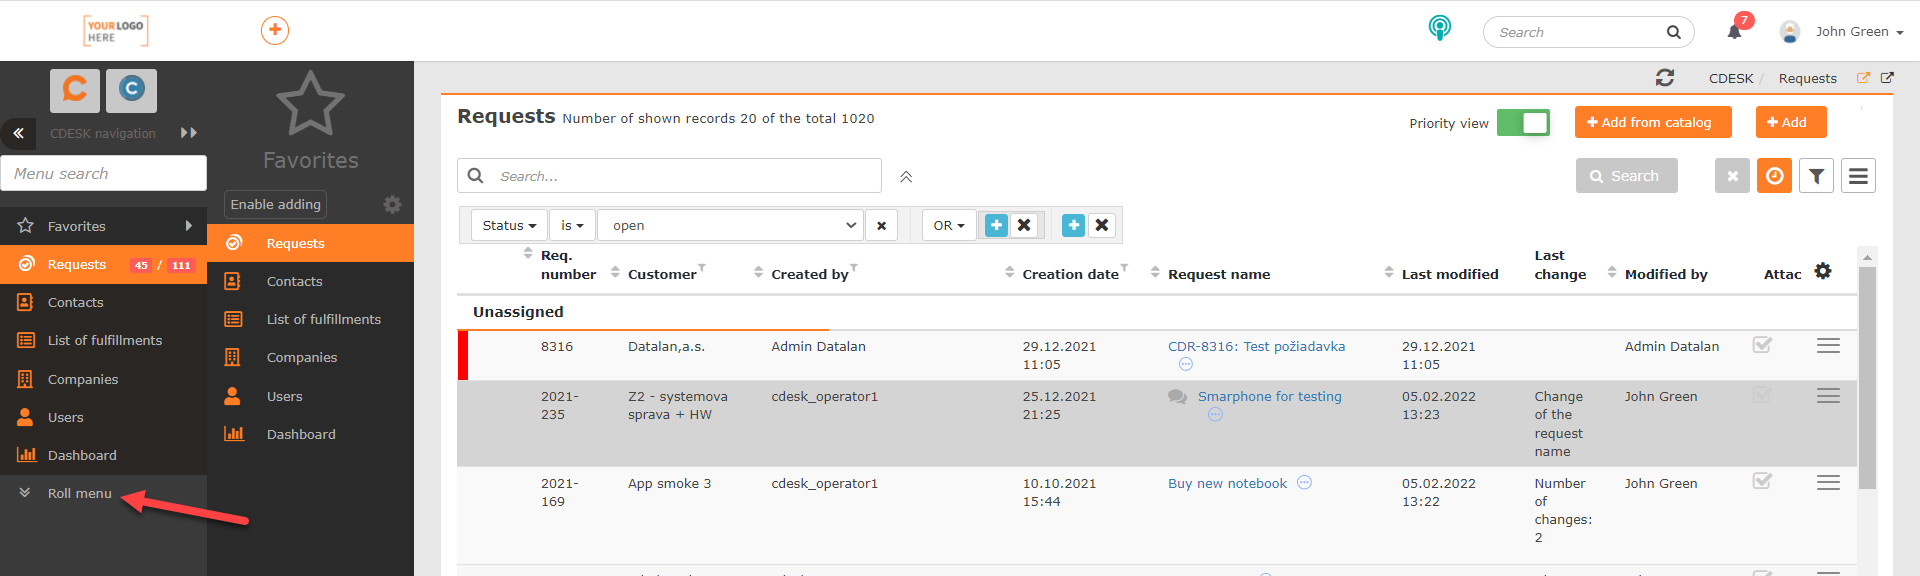
Collapse Menu by Number – this setting is only available if showing to the first menu level as well as collapsing of the main menu are enabled. The number set in this field indicates the minimum number of favorites that must be reached for the main menu to be collapsed. By default, the value is set to 5.
Automatic Creation and Sorting of Items – modules will be automatically added to your favorites based on how often they are used. For more information on automatic item addition, see Adding Modules to Favorites. The list of favorites is updated every 24 hours. Click the Recalculate Now button to update it immediately.
Maximum Number of Automatic Items – this field is available only when automatic creation and sorting is enabled. It allows you to set the maximum number of items that will be added automatically.
Order of Favorites – list of items that have been added to your favorites. In the field of each item there are icons with the following functions:
 – click and then drag this icon to change the order of the items. The order can only be changed for pinned items.
 – Pin item. The icon only appears if automatic creation and sorting of items is enabled. Pinned items are not automatically removed from the list of favorites. They remain in their position in the list unless you manually move it. They are highlighted in orange in the list.
 – Don´t offer to favorites. An item marked as such will not be automatically included in the favorites.
 – Delete. The item will be removed from the list and in case of a frequent use can be added back to the list automatically.
Settings made in this modal window are saved automatically. When the configuration is complete, click Done located in the bottom right corner of the window.
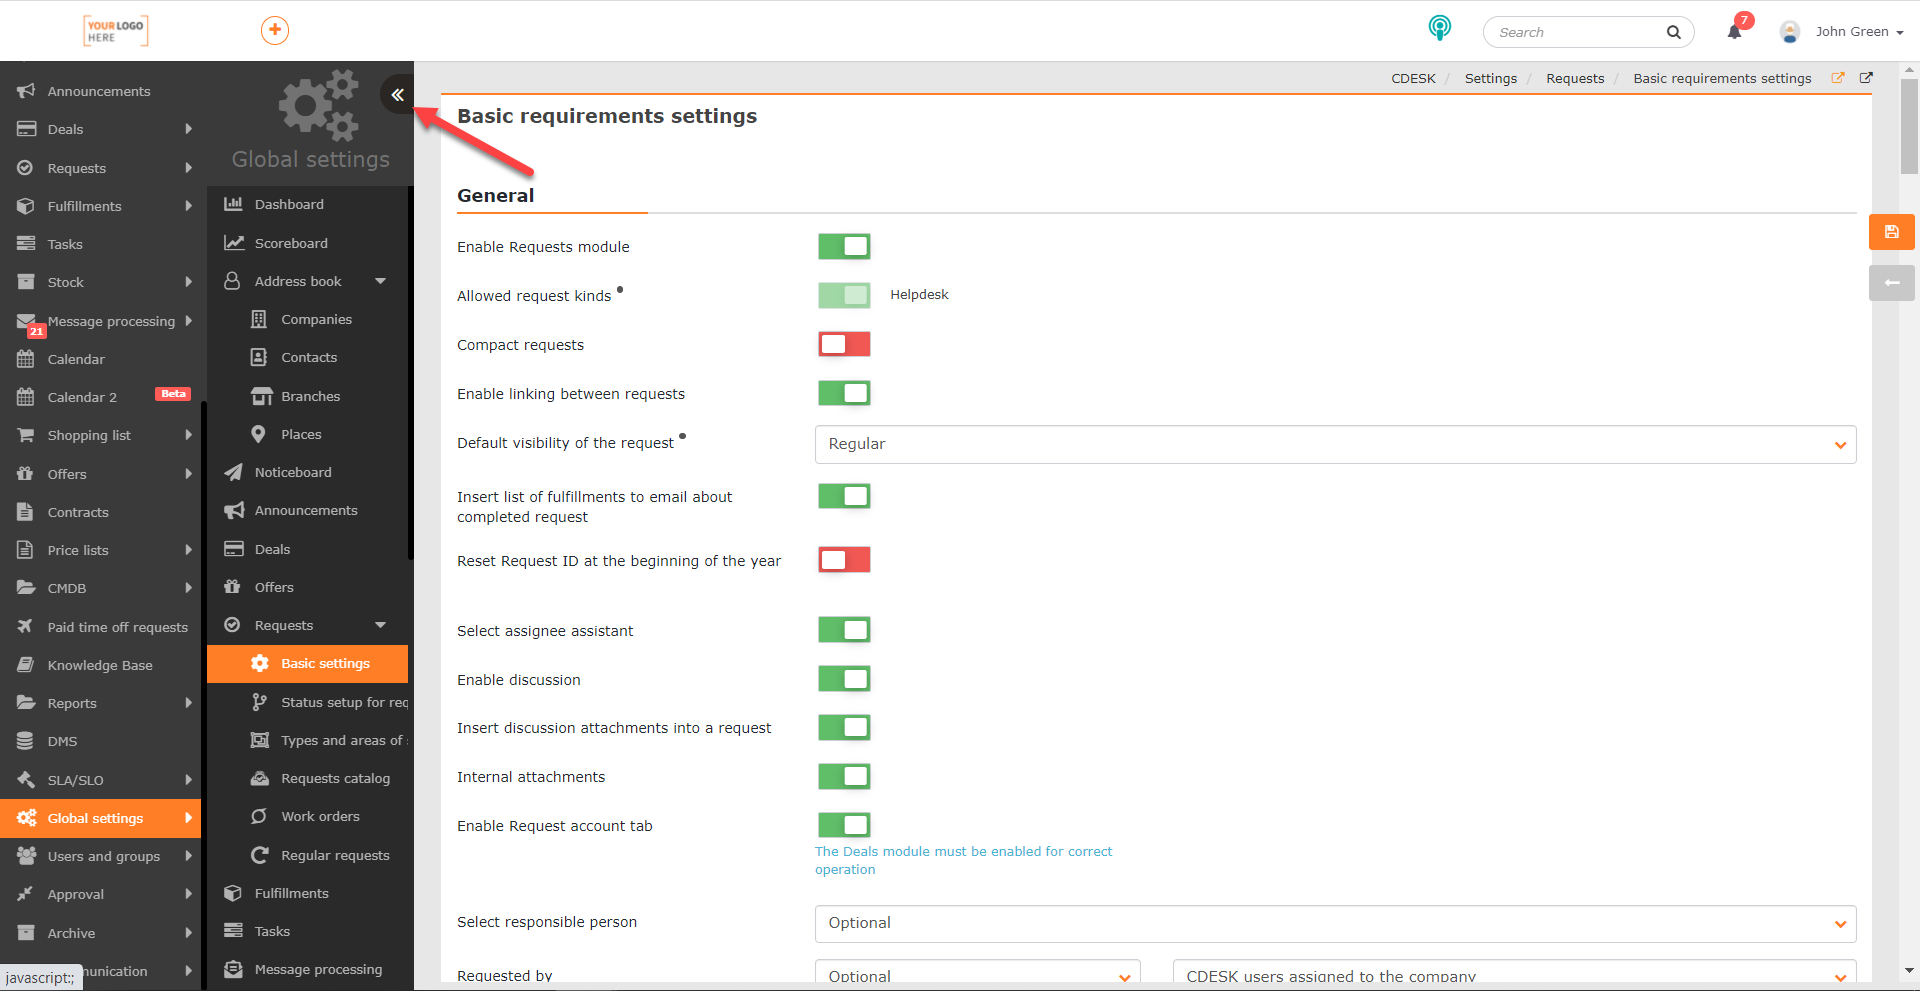
Change of the Menu Type
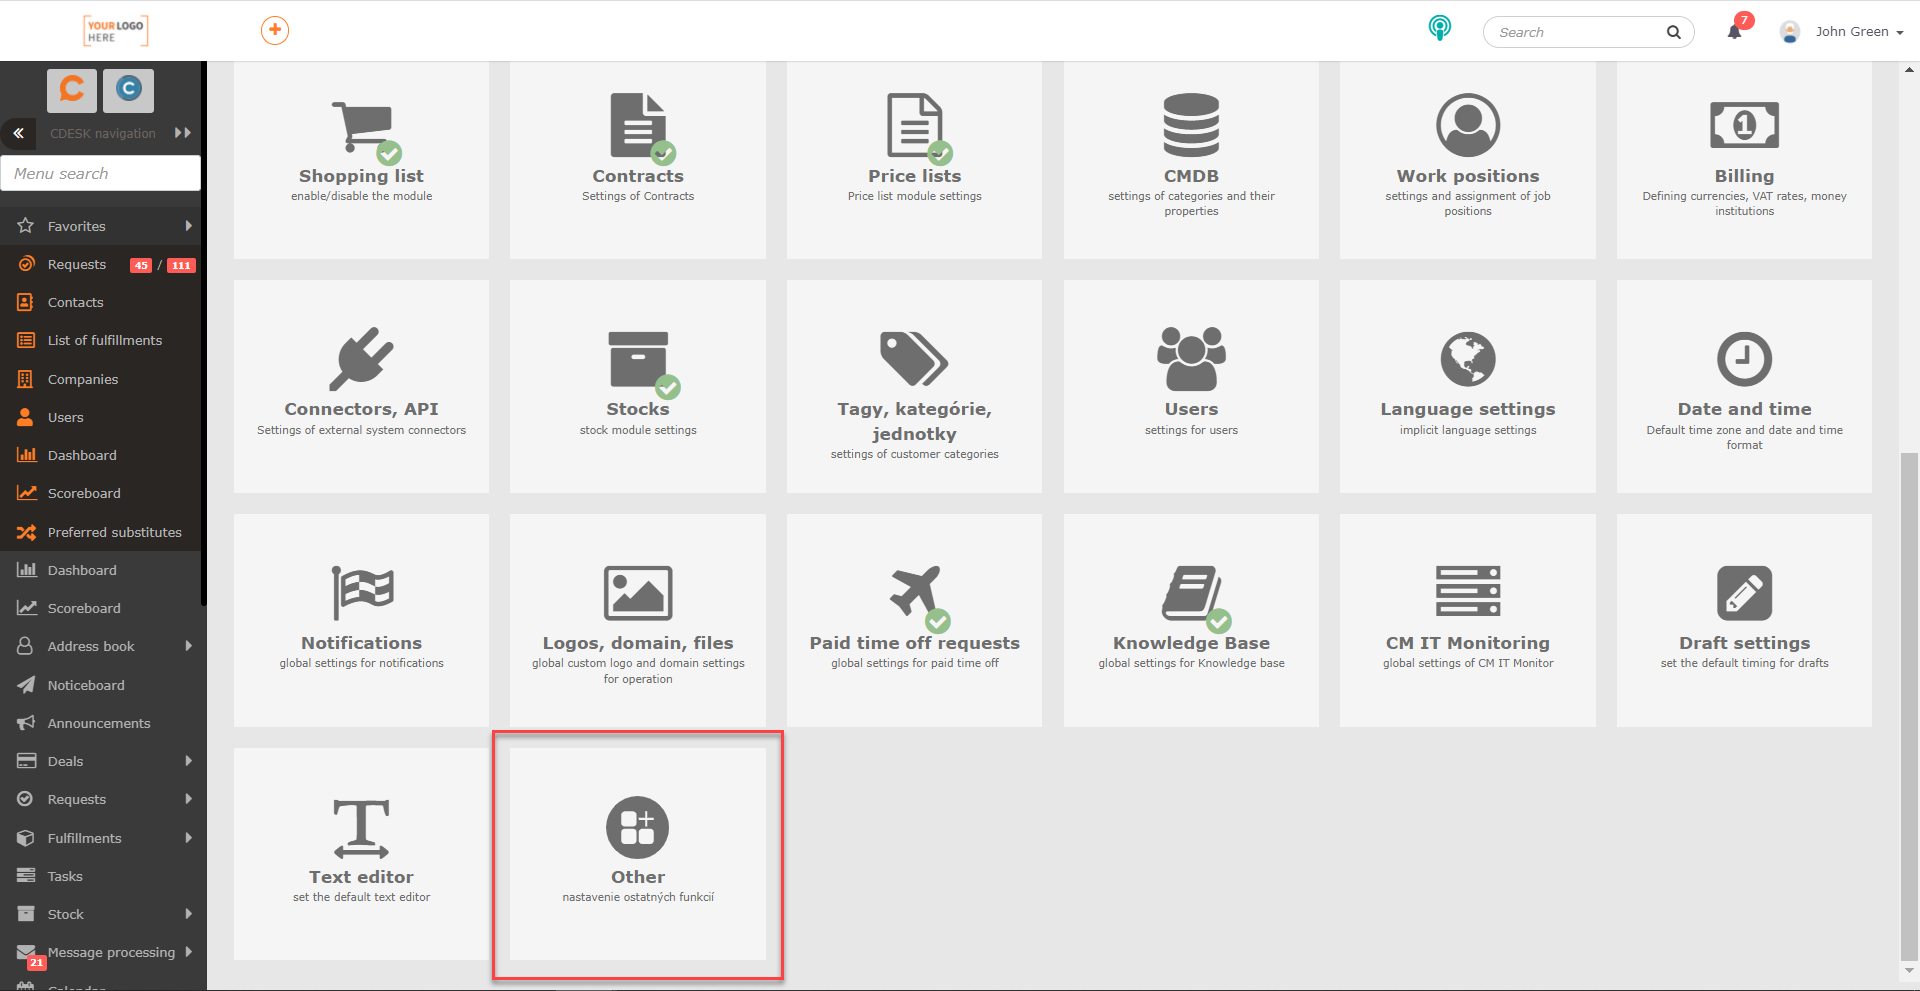
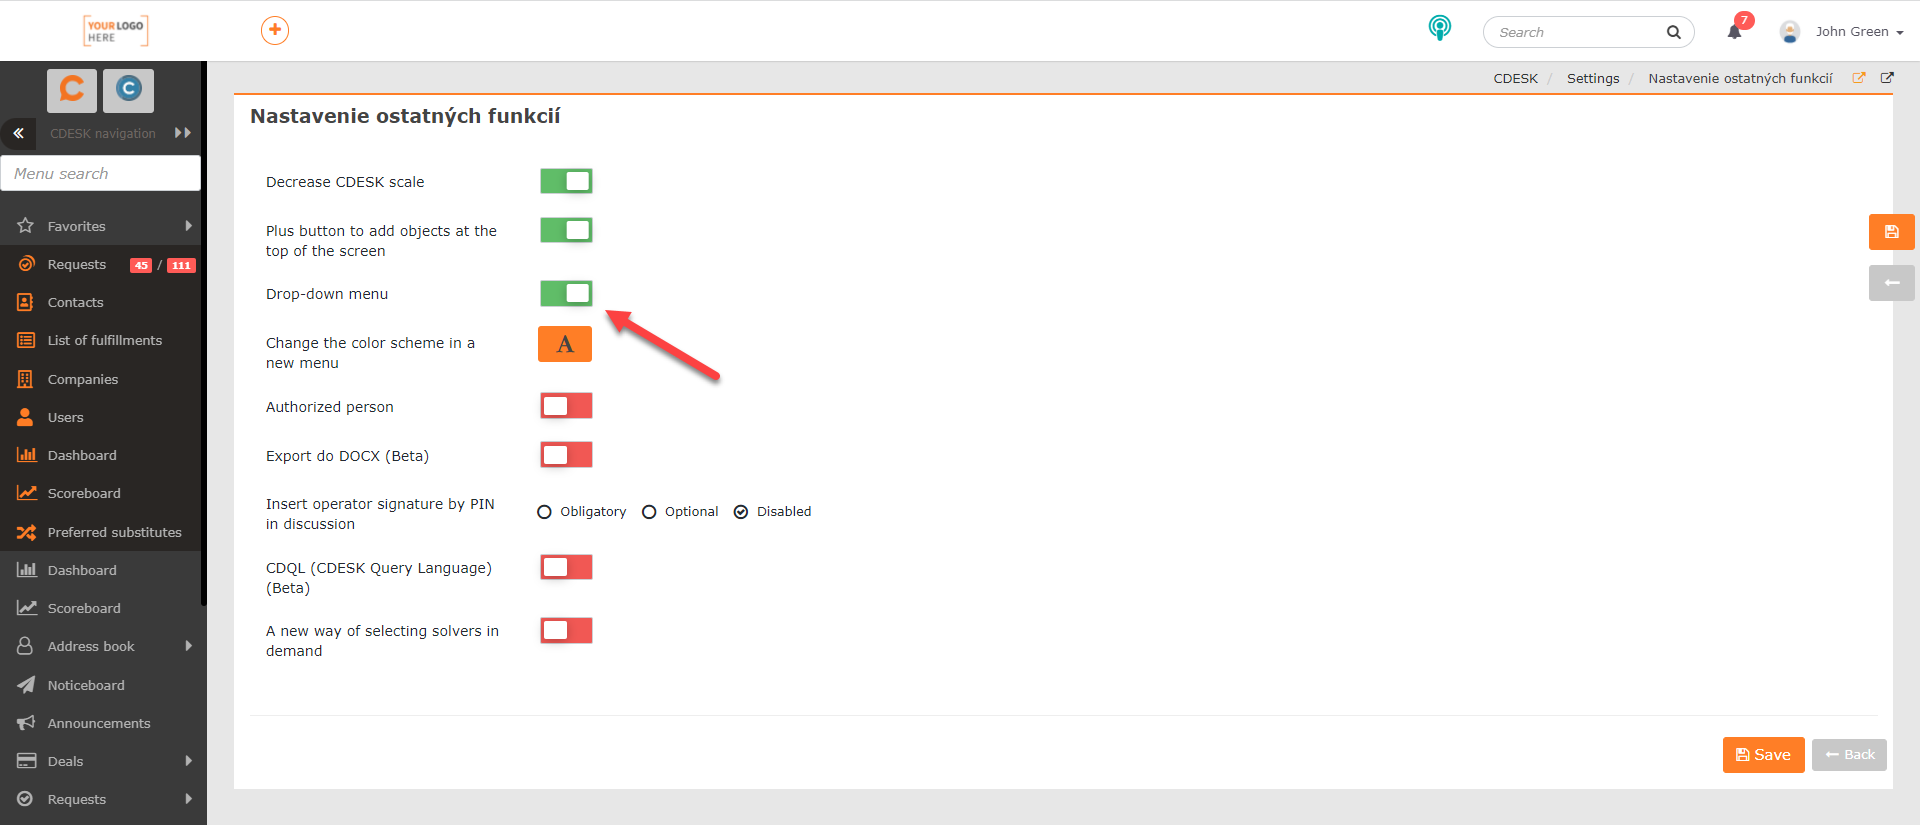
After creating a new account, drop-down menu is displayed by default in CDESK. This setting can be changed in Global Settings -> Other.
To turn off the drop-down menu, turn the switch to the off position ![]() when setting the Drop-down menu and then click Save in the bottom right corner of the window. You need to refresh the page for the changes to take effect.
when setting the Drop-down menu and then click Save in the bottom right corner of the window. You need to refresh the page for the changes to take effect.
The loaded changes activate the menu in CDESK in which the sub-items of each module are always displayed in the first level.