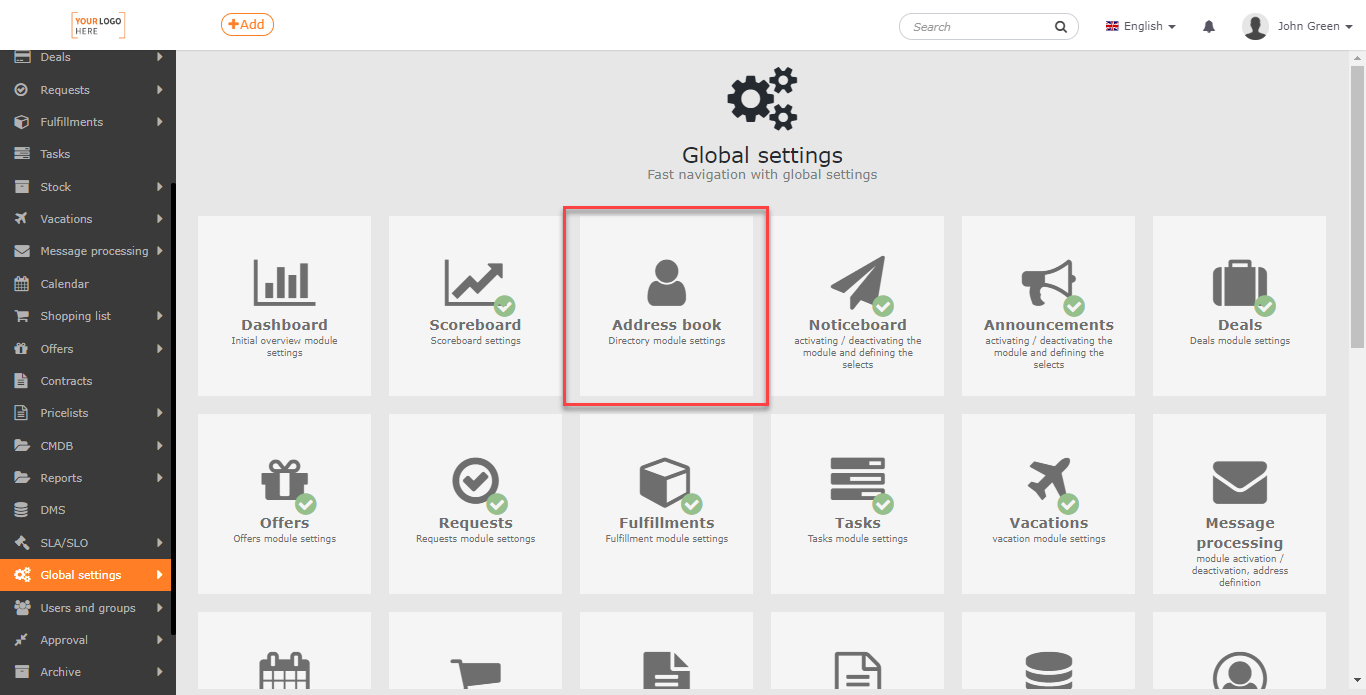
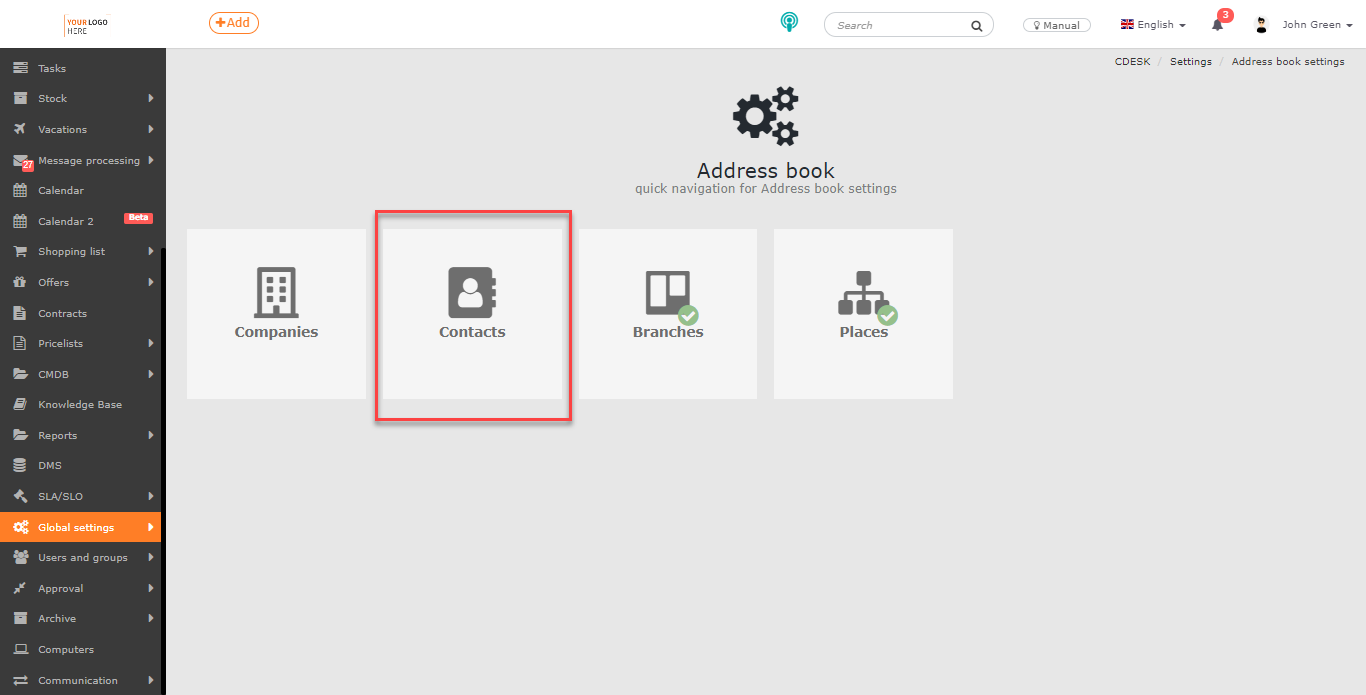
ADDRESS BOOK – CONTACTS – SETTINGS
The following settings are for the Address Book->Contacts module. Contacts can be set up in Global Settings->Address Book->Contacts.
Contact Categories
Contact categories are used to sort contacts, which makes the work with them easier. In the list of contacts, you can filter entries by contact. The function is accessible when the toggle switch is on ![]() .
.
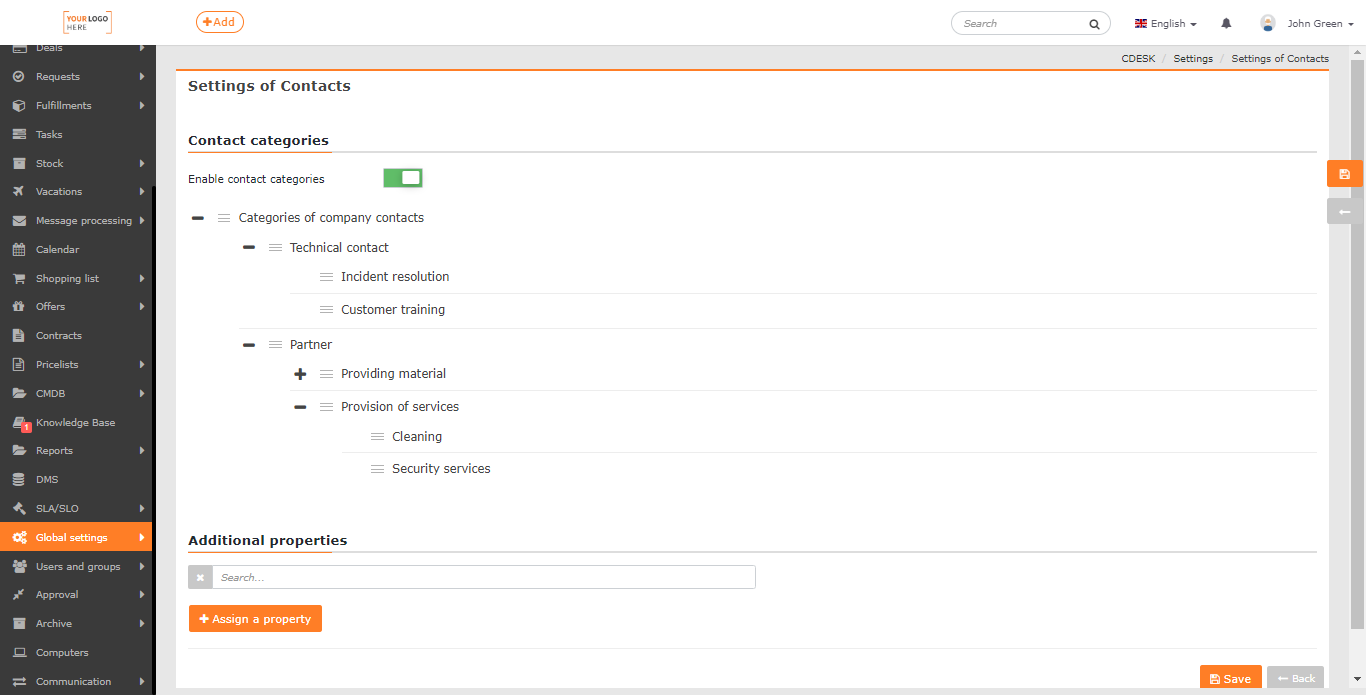
Add a New Category
Use the button ![]() -> Add a child tag
-> Add a child tag
to add a new contact category. A new line to enter the name is displayed in the list. The category appears in the list under this name. It is also possible to attach a description and a slug.
Slug – represents an alias for the item in an understandable form, which is used for API calls as an ID. Term used must not contain diacritics or spaces and is case sensitive.
Description – is displayed in a pop-up window after the category is saved and gives more information on the category. This feature can contain 65 535 arbitrary characters.
At the end of the line, you can find ![]() to close the new line and the category will not be saved. To save the category, use
to close the new line and the category will not be saved. To save the category, use ![]() .
.
You can add child categories to an existing category in the same way as normal categories. If a category contains child categories, ![]() appears next to the category name to display the list of all child categories belonging to that category. Press
appears next to the category name to display the list of all child categories belonging to that category. Press ![]() to close the list.
to close the list.
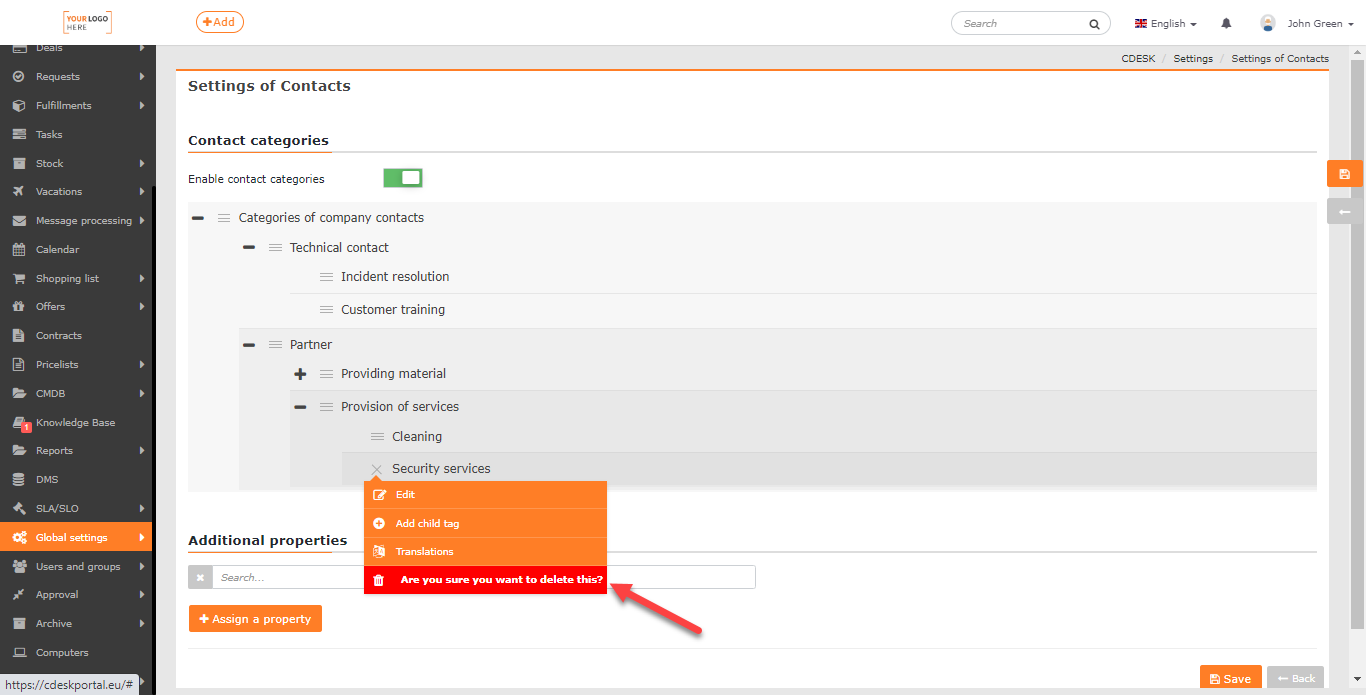
Edit or Delete a Category
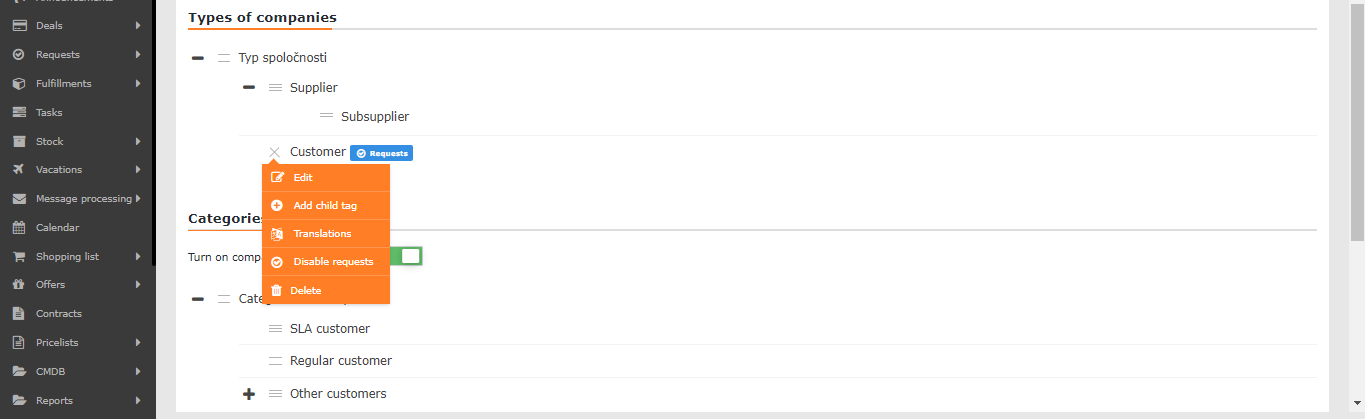
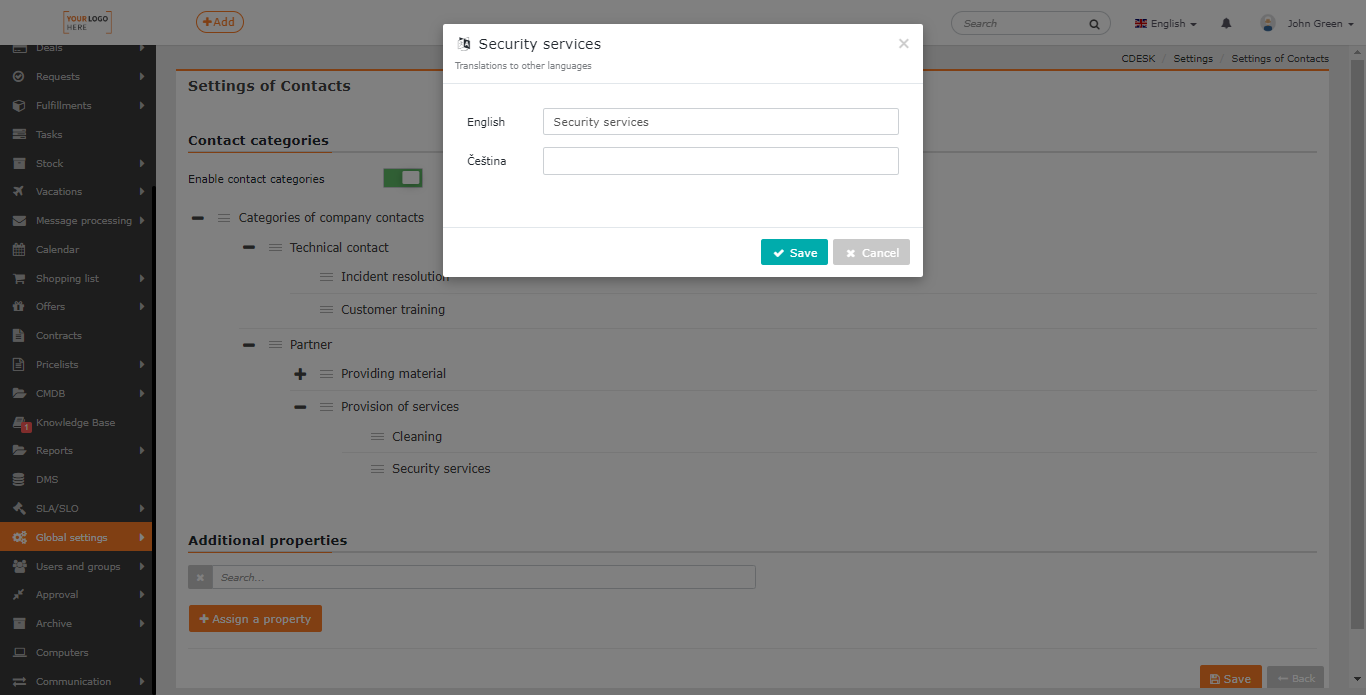
Translations are added to category names by clicking on the ![]() -> Translations tab
-> Translations tab
. A new window opens for entering a translation in a language enabled in Global Settings->Languages. Translations are saved using the Save button in the bottom right corner. The Cancel button is used for returning to the list without saving.
To delete a category, use the Delete button in the context menu ![]() . When clicked, the you sure you want to delete this?notification appears. Click on this line and the category is deleted. If the category contains child categories, these will be deleted as well. It is not possible to delete the Categories of company contacts folder that is predefined in the system.
. When clicked, the you sure you want to delete this?notification appears. Click on this line and the category is deleted. If the category contains child categories, these will be deleted as well. It is not possible to delete the Categories of company contacts folder that is predefined in the system.
Additional Properties
In this section, you can extend contacts with additional parameters that are not in the form and it is useful to record them in contacts for your business. Additional properties can be used to subdivide contacts.
Additional properties were developed for the CMDB module and contacts just reproduce them. Therefore, addition and further configuration of additional properties are done under the CMDB module.
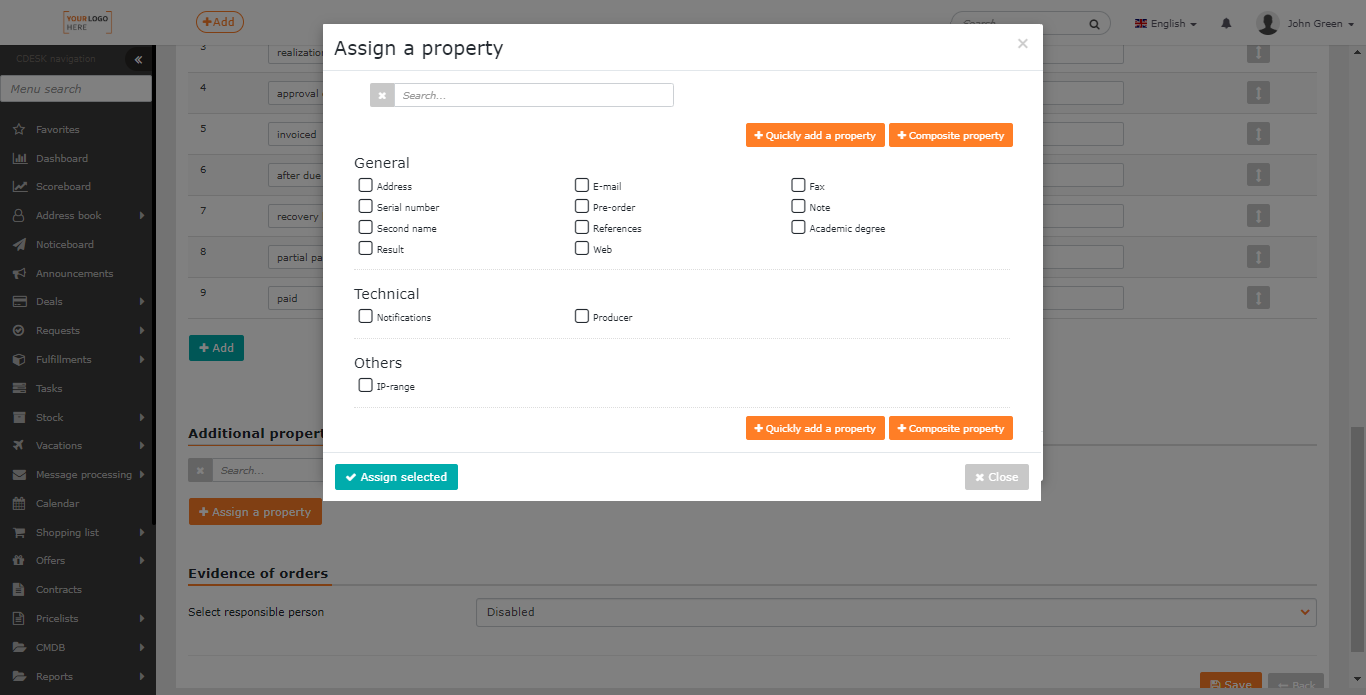
Assign an Additional Property
To add an additional property, click the +Assign a Property
button. Click to open a new window with the list of additional properties that you can define in the CMDB module. For each property, there is a check box to select the requested property. Use the Assign Selected button to add selected properties. These items are then included in the request form.
If the list does not contain the property you require, there is also a possibility to define it directly in the property selection window using the +Quickly add a property and +Composite property buttons. Select +Quickly add a property to create a basic property. Use the +Composite property button to add a composite property that contains more than one basic property. For more information on working with additional properties, see the text CMDB Configuration database->Additional Properties.
Set up Additional Properties
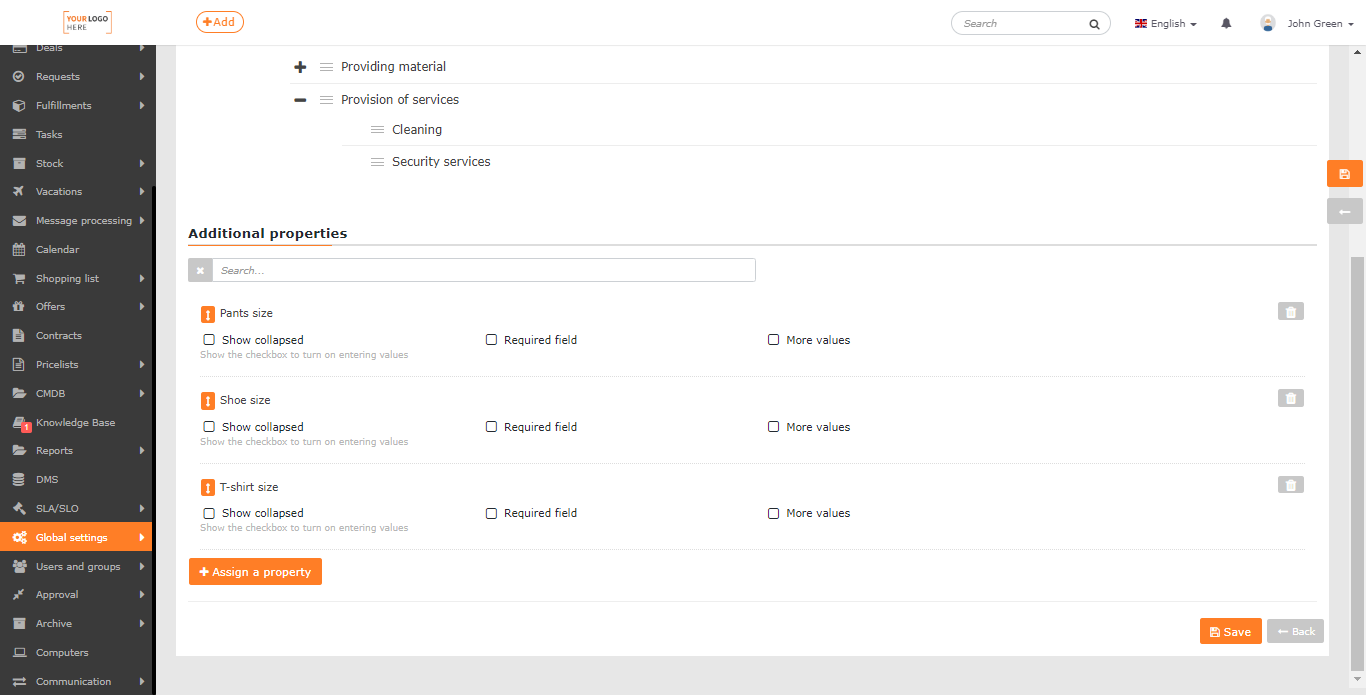
Selected additional properties are included in the list of Additional properties. The properties are in the contact form in the order in which they are listed in this list. You can change the order of the items by dragging ![]() . There is a search bar above the list. To delete additional features that you have already added and do not want to use, press
. There is a search bar above the list. To delete additional features that you have already added and do not want to use, press ![]() .
.
You can also set how the properties are displayed and filled in.
Show collapsed – when the Show collapsed option is selected, only the check box appears in the contact form, not the entire property. The property expands when this check box is selected.
Required field – when the Required field is checked, the property is marked as required in the contact form. You will not be able to save the contact unless you fill in the property.
More values – if you select More values, you will be able to fill in the property more than once. You can limit this number in the limit field.
Subject to approval – allows you to set approval for the use of an additional property. See the Approval for Additional Properties section for more information on this feature.
Press Save to apply the settings. Some settings may require a page reload after saving (use F5 or CTRL+R to refresh the page).